Welcome to the world of home recording! As a passionate music producer, I’m thrilled to share my insights on setting up the perfect home recording studio equipment for your home music studio space. Creating your own studio setup can be an exciting journey, opening up endless possibilities for your musical creativity.
In this guide, we’ll explore the essential studio equipment you’ll need to get started, from condenser microphones to audio interfaces. We’ll also dive into the software and digital tools that will take your productions to the next level. Plus, we’ll cover the accessories that can make a big difference in your recording quality and comfort, like headphones, pop filters, and monitor stands. Finally, we’ll discuss how to create the ideal bedroom recording studio environment with proper room acoustics and sound isolation. So, let’s get started on building your dream home studio setup!
Essential Recording Hardware
Let’s dive into the heart of our home studio essentials: the essential hardware. I’ve spent years experimenting with different studio equipment, and I’m excited to share my insights on the key components you’ll need to create professional-quality recordings.
Computer
The computer is the brain of your home studio setup. For music production, you’ll want a machine with a fast processor and plenty of RAM. I recommend aiming for at least a 2.4 GHz processor with 4 cores, and 16GB of RAM if you can swing it. This will give you the power to handle complex projects with multiple tracks and plugins.
Storage is another crucial factor. I suggest using a solid-state drive (SSD) for your system and audio files. SSDs are faster and more reliable than traditional hard drives, which is essential for smooth recording and playback. Aim for at least 500GB, but 1TB is even better if it’s within your budget.
Audio Interface
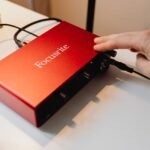
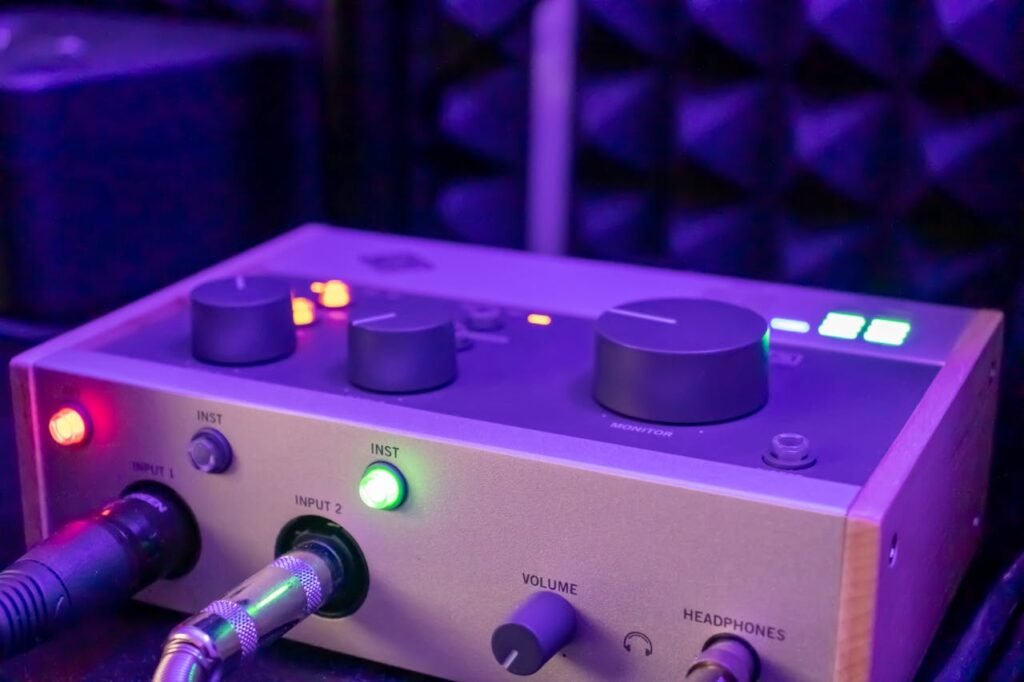
An audio interface is your bridge between the analog and digital worlds. It converts the sound from your instruments and microphones into digital signals that your computer can process, handling the crucial audio conversion. I’ve found the Focusrite Scarlett 2i2 to be an excellent choice for beginner studio equipment. It’s affordable, has great mic preamps, and is built to last.
For those looking to expand their setup, I’d recommend the Universal Audio Apollo Twin. It offers top-notch sound quality, built-in DSP for running UAD plugins, and the ability to expand via ADAT if you need more inputs and outputs in the future.
Microphones
Choosing the right microphone can make or break your recordings. For vocals and acoustic instruments, I swear by the Rode NT1. It’s a large-diaphragm condenser microphone that offers incredible clarity and detail at a reasonable price point.
If you’re on a tighter budget, the Audio-Technica AT2020 is a fantastic option. It delivers a clear, professional sound that’s perfect for home studio setup for.
For recording loud sources like guitar amps or drums, I always reach for the Shure SM57. It’s a dynamic microphone that can handle high sound pressure levels and has been an industry standard for decades.

Headphones and Monitors
When it comes to monitoring your recordings and mixes, you have two main options: headphones and studio monitors. For headphones, I recommend the Audio-Technica ATH-M50x. They offer a balanced, detailed sound that’s perfect for both recording and mixing.
If you have the space and budget for studio monitors, the Yamaha HS5 pair is hard to beat. They provide a flat, neutral frequency response that allows you to hear your mixes accurately. Don’t forget to add monitor stands and a subwoofer to your studio equipment for optimal sound.
Remember, the key to great recordings isn’t just about having the best recording equipment. It’s about understanding your equipment and using it effectively. Start with these studio essentials, learn them inside and out, and you’ll be well on your way to creating professional-sounding tracks in your home studio.

Software and Digital Tools
Now that we’ve covered the essential hardware, let’s dive into the software side of things. This is where the magic really happens in modern studio equipment setup. I’ve spent countless hours experimenting with different tools, and I’m excited to share my insights with you.
Digital Audio Workstation (DAW)
The heart of any digital studio setup is the Digital Audio Workstation, or DAW. It’s the recording software where you’ll record, edit, mix, and master your music. There are many options out there, but here are a few I recommend:
- GarageBand: If you’re just starting out, this free Apple software is a great place to begin. It supports up to 255 audio tracks and has a vast library of loops and synth sounds.
- Ableton Live: This is my go-to DAW for electronic music production. Its unique session view makes it perfect for live performances and quick idea sketching.
- FL Studio: Don’t let its reputation fool you – FL Studio is a powerful DAW used by many professionals. It’s particularly great for beat-making and has a user-friendly interface.
- Pro Tools: This is the industry standard for professional recording studios. It’s got a steeper learning curve, but it’s incredibly powerful once you get the hang of it.
Remember, the best DAW is the one you’re most comfortable using. Most offer free trials, so don’t be afraid to experiment until you find your perfect match.
Virtual Instruments
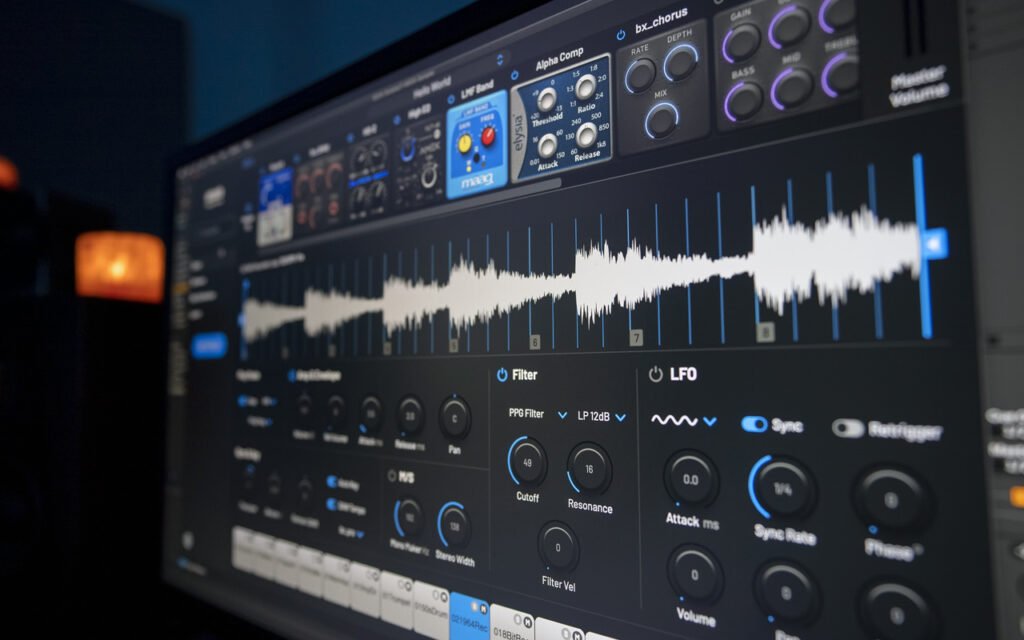
Virtual instruments have revolutionized home studio recording. They allow you to have an entire orchestra at your fingertips without needing a massive studio space. Here are some of my favorites:
- Native Instruments Komplete: This is the Swiss Army knife of virtual instrument bundles. It includes everything from realistic pianos to cutting-edge synthesizers.
- Spectrasonics Omnisphere: This synth is a sound designer’s dream. It offers an endless array of possibilities for creating unique sounds.
- EZ Keys: If you’re looking for realistic piano sounds, this is your go-to. It also has a fantastic songwriting assistance feature.
- Superior Drummer 3: For realistic drum sounds, this can’t be beaten. It even has an AI-powered feature that can convert audio to MIDI.
Plugins
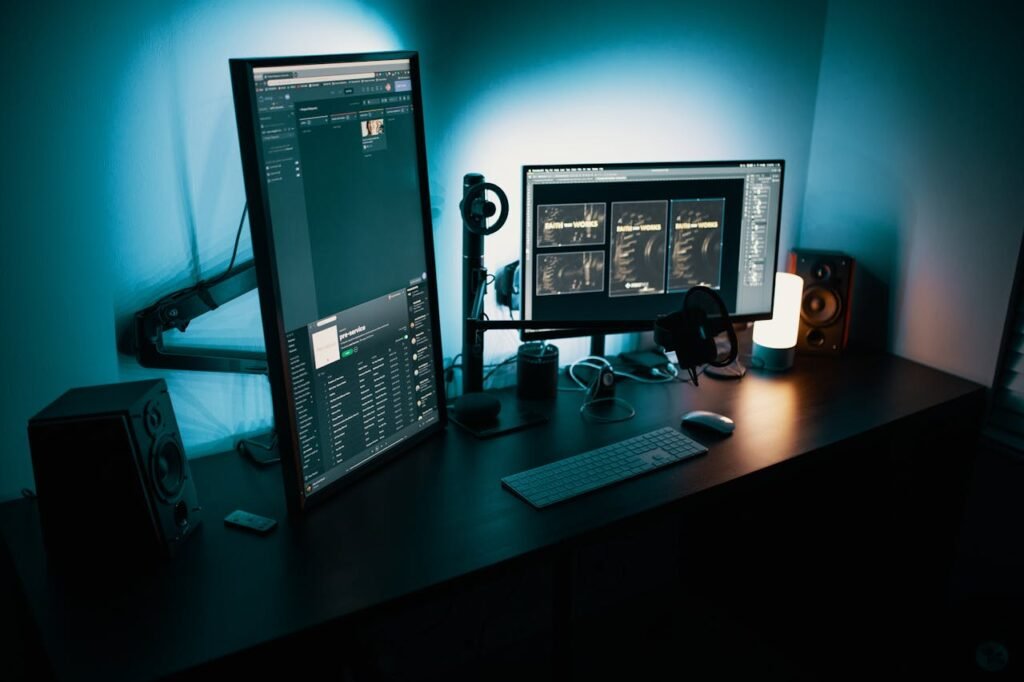
Plugins are the secret weapons of modern music production. They can add effects, shape your sound, and even emulate vintage hardware. Here are some essential categories:
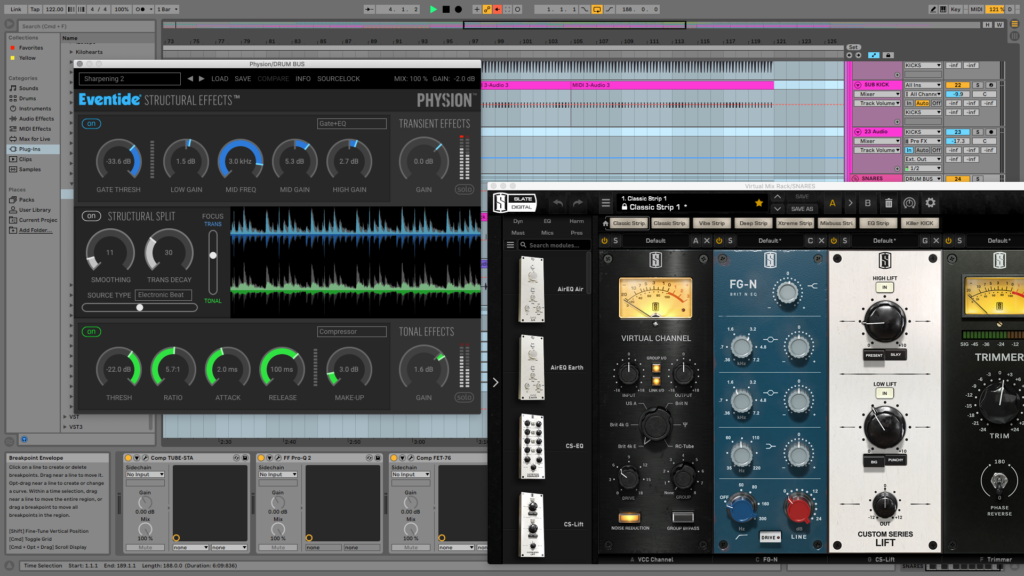
- EQ and Compression: These are fundamental for shaping your sound. Fabfilter’s Pro-Q and Pro-C are industry standards.
- Reverb and Delay: These add space and depth to your mix. Valhalla’s plugins are fantastic and budget-friendly.
- Amp Simulators: For guitarists, Amplitube is a game-changer. It offers a vast array of virtual amps and effects.
- Mastering Tools: iZotope’s Ozone is a powerful suite for polishing your final mix.
Remember, while these tools are powerful, they’re just that – tools. The most important thing is to trust your ears and focus on making great music. Don’t get too caught up in having every plugin under the sun. Start with the basics, learn them well, and expand your toolkit as you grow as a producer.
Accessories for Optimal Recording
Now that we’ve covered the essentials, let’s dive into some accessories that can take your studio equipment setup to the next level. These items might seem small, but they can make a big difference in your workflow and the quality of your recordings.
MIDI Controller
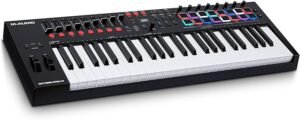
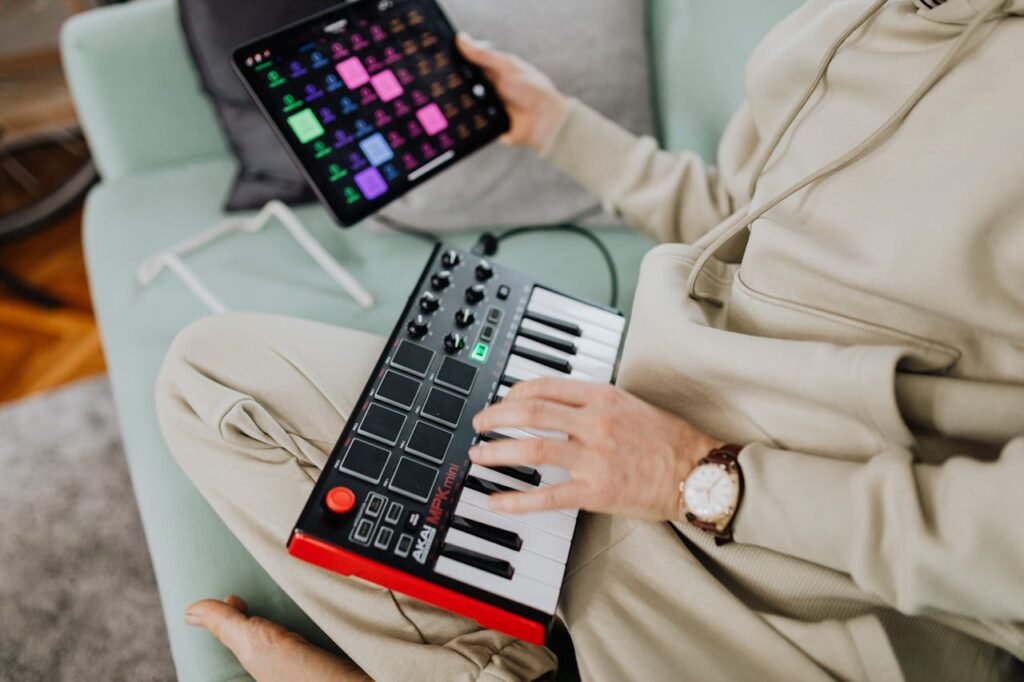
A MIDI controller is a game-changer for any home studio. I’ve found it to be an indispensable tool for playing virtual instruments and controlling various aspects of my DAW. There are three main types to consider:
- Keyboard controllers: These are perfect if you’re comfortable with piano-style keys. They come in various sizes, from compact 25-key models to full 88-key versions.
- Pad controllers: If you’re into beat-making or sample triggering, these are fantastic. They typically feature pressure-sensitive pads that are great for finger drumming.
- DAW controllers: These are designed to give you hands-on control over your DAW’s functions, like faders, knobs, and transport controls.
When choosing a MIDI controller, consider how it integrates with your specific DAW. Some controllers offer deep integration with certain software, which can significantly streamline your workflow.
Cables and Adapters
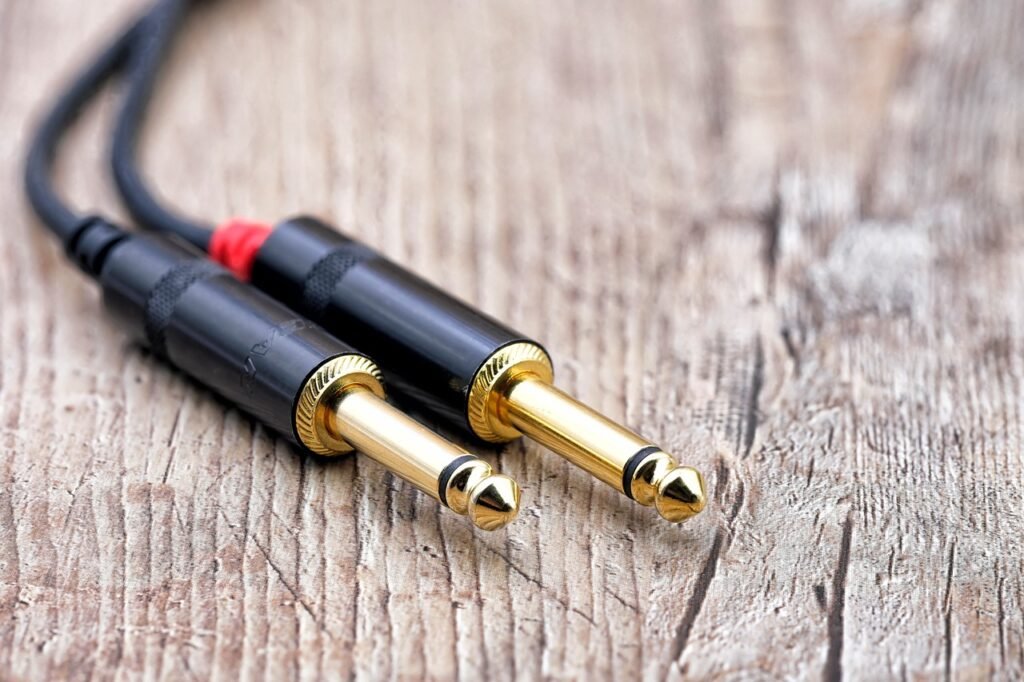
I can’t stress enough how important it is to have a good selection of cables and adapters in your home studio gear. You never know when you might need to make an unexpected connection. Here are some must-haves:
- XLR cables: These are standard for microphones and balanced connections.
- 1/4″ TS cables: Often called “instrument cables,” these are great for guitars and other line-level sources.
- 1/4″ TRS to XLR cables: These are useful for connecting balanced gear with different connector types.
- RCA cables: Handy for connecting consumer-level studio equipment.
- 3.5mm (1/8″) cables: Essential for connecting to smartphones, tablets, and other portable devices.
Don’t forget about adapters! I always keep a few 1/4″ to 3.5mm adapters in my kit. They’re lifesavers when you need to connect headphones or other gear with different jack sizes.
Microphone Stands
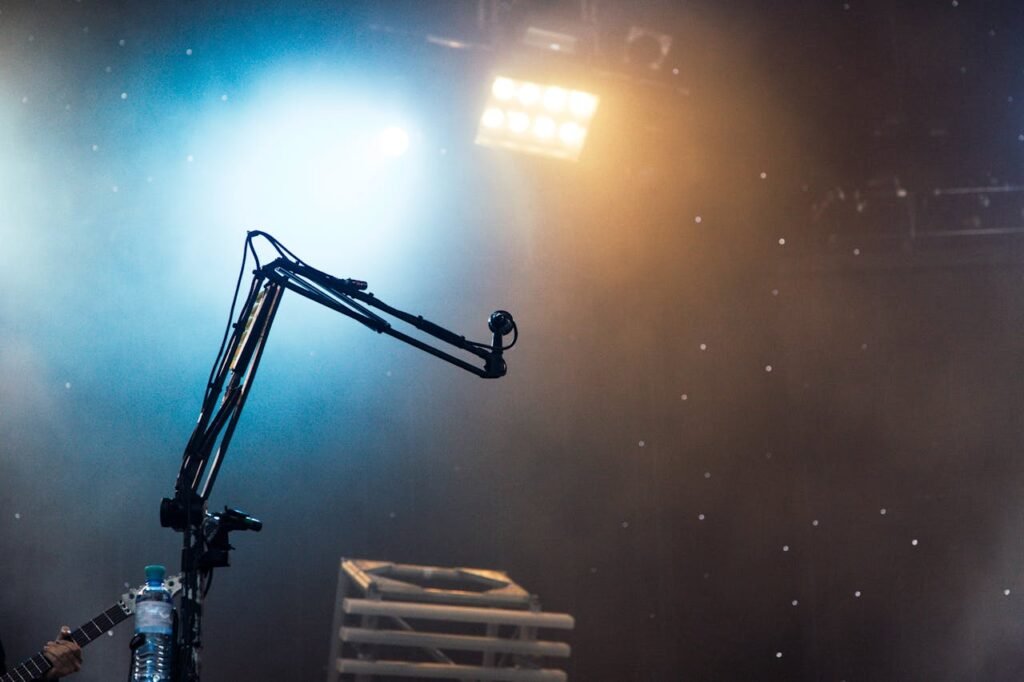
A good mic stand is crucial for getting the perfect microphone placement. For a home music studio, you don’t need to break the bank. Here’s what I recommend:
- Boom stand: This is the most versatile option. It allows you to position the mic at various angles, which is great for recording vocals, acoustic guitars, or even as drum overheads.
- Desktop stand: These are perfect for podcasting or when you need a low-profile solution.
- Tripod base: I prefer these over round bases as they offer more stability, especially when extending the boom arm.
One brand I’ve had great success with is On-Stage Stands. Their tripod boom stands have served me well for over a decade. They’re affordable (around $35) and surprisingly durable.
Remember, while these accessories might seem minor, they can have a major impact on your recording quality and workflow. Invest in quality gear, and it’ll serve you well for years to come.
Creating the Ideal Recording Environment
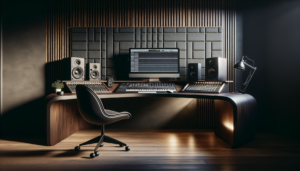
Creating the perfect recording environment is crucial for achieving professional-quality sound. I’ve spent years fine-tuning my bedroom recording studio, and I’m excited to share some insights that can help you transform your space.
Acoustic Treatment
When it comes to acoustic treatment, I can’t stress enough how crucial it is. It’s the unsung hero of any great recording space. I remember the first time I properly treated my room – the difference was night and day!
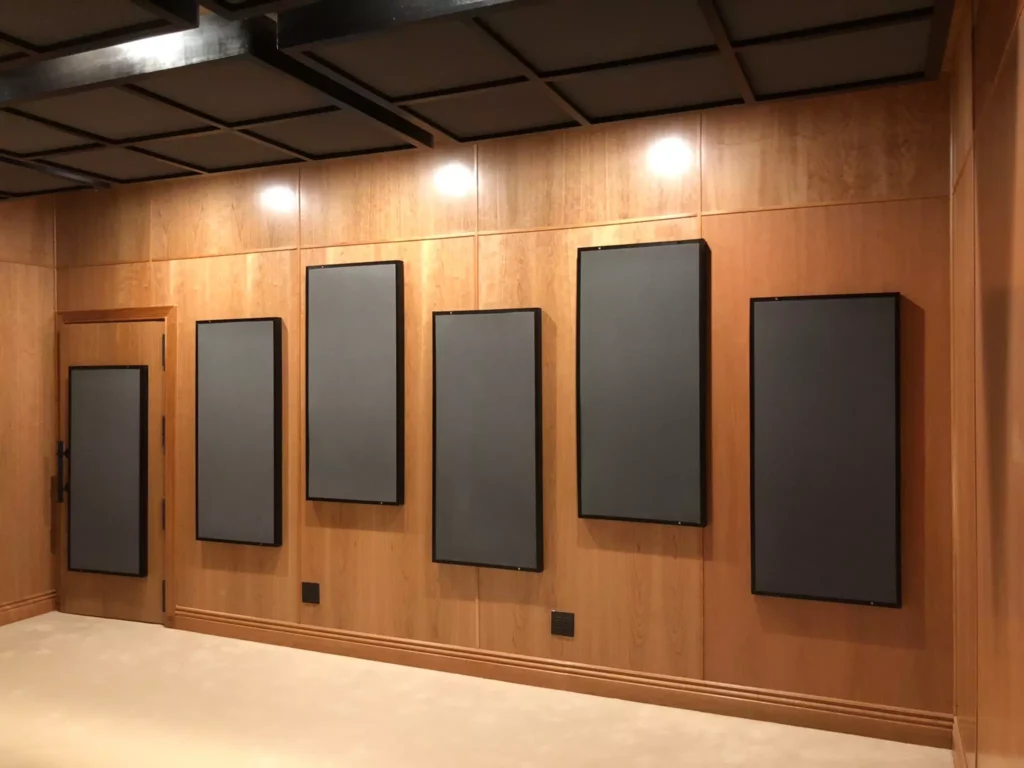
First things first, let’s talk about bass traps. These are absolute game-changers, especially in small to medium-sized rooms. I always start by placing them in the corners, where low frequencies tend to build up. Trust me, getting this right can transform your listening environment.
Next up, acoustic panels. These bad boys are your primary weapons against poor acoustics. I like to spread them evenly throughout the room, focusing on the walls parallel to each other. This helps combat those pesky sound reflections that can muddy up your mix.
But here’s a pro tip: don’t go overboard with absorption. You don’t want a completely dead room. That’s where diffusers come in handy. They scatter sound rather than absorbing it all, giving you a more natural-sounding space. I find that striking the right balance between absorption and diffusion is key to creating a lively yet controlled environment.
One tool I swear by is Room EQ Wizard. It’s free software that helps you identify problem areas in your room’s frequency response. I use it to pinpoint standing waves and other acoustic issues that might not be immediately obvious to the ear.
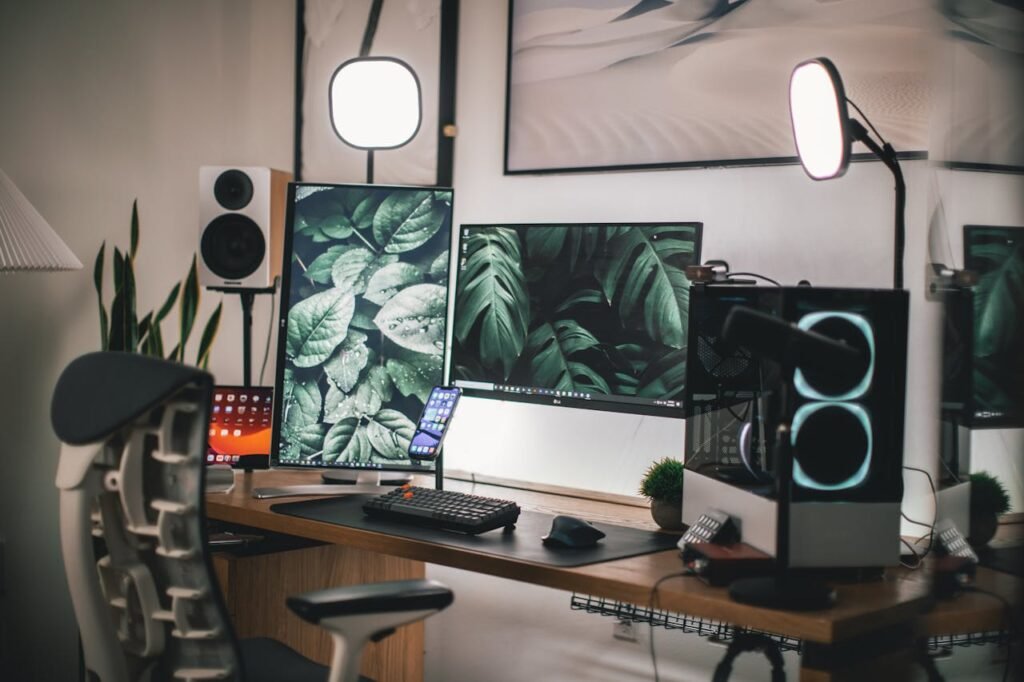
Ergonomic Furniture
Now, let’s talk about something that often gets overlooked – ergonomic furniture. As someone who’s spent countless hours in the studio, I can’t emphasize enough how important this is for your health and productivity.
Your studio chair is more than just a place to sit – it’s your command center. I personally love the Herman Miller Aron. It’s got this breathable mesh that keeps you cool during those marathon mixing sessions. Plus, its adjustable lumbar support is a godsend for my back.
But if you’re on a tighter budget, don’t worry. There are great options like the Hbada Office Task Chair. It’s sleek, doesn’t take up too much space, and still offers good support for those long hours at the desk.
Remember, it’s not just about comfort – it’s about maintaining good posture. A chair with adjustable height, tilt, and armrests can make a world of difference. I find that being able to adjust my position throughout the day keeps me fresh and focused.
Don’t forget about your desk setup either. I like to have everything within easy reach to avoid unnecessary strain. Consider a desk with adjustable height if you can – it’s great for switching between sitting and standing throughout the day.
Creating the ideal recording environment is all about balance – between acoustics and comfort, between absorption and diffusion, between functionality and ergonomics. Get these elements right, and you’ll have a space that not only sounds great but feels great to work in. Trust me, your ears (and your back) will thank you!
Conclusion
Setting up a home recording studio is an exciting journey that has a huge impact on your musical creativity and production quality. From selecting the right hardware and software to creating the perfect acoustic environment, every element plays a crucial role to shape your sound. The accessories and ergonomic considerations we’ve discussed are equally important to streamline your workflow and keep you comfortable during those long recording sessions.
To wrap up, remember that building your ideal home studio is an ongoing process. As you grow as a musician and producer, your needs will evolve, and so will your setup. The key is to start with the essentials, learn to use them well, and gradually expand your toolkit. With the right studio equipment and environment, you’re all set to bring your musical visions to life. So go ahead, dive in, and start creating!
FAQs
What equipment do I need to start a home recording studio?
To begin a basic home music studio, essential items include a computer, audio production software, an audio interface, a MIDI controller, either headphones or speakers, acoustic treatments for the room, and the necessary microphones, cables, and stands.
What is the most crucial piece of equipment in a recording studio?
The most critical studio equipment is undoubtedly the monitors. Quality studios feature various monitoring systems, not just a single type. It’s advisable to inquire about the types of monitors a studio uses, as they are often a point of pride.
How can I set up a home recording studio?
Here are seven steps to establish a music recording studio at home:
- Start with a computer.
- Use a Digital Audio Workstation (DAW) for recording.
- Employ an audio interface to convert analog signals to digital.
- Acquire studio monitors and headphones.
- Obtain a versatile microphone for recording vocals.
- Include a MIDI keyboard for digital sounds.
- Design a workspace that fosters creativity.
What is the estimated cost to set up a home recording studio?
For a basic setup, you should plan to spend around 1,000, though costs can vary based on the studio size and the desired audio quality level. If you aim to establish a professional recording studio, expect to budget significantly more, anywhere from £120,000 to £800,000.


