Are you a music producer or an aspiring artist looking to create high-quality recordings in the comfort of your own home? If so, one of the most crucial aspects of your home music studio setup is the home studio acoustic treatment. Without proper acoustic treatment, even the most expensive gear and monitors won’t deliver accurate and professional-sounding results. In this comprehensive guide, we will explore the best techniques and strategies for achieving optimal acoustic treatment in your home music studio.
Understanding the Importance of Acoustic Treatment
Acoustic treatment, the process of optimizing sound quality and minimizing unwanted reflections and resonances, is fundamental in creating a controlled and accurate listening environment. This room acoustic treatment allows you to make informed mixing decisions and produce high-quality recordings. Whether you’re recording vocals, playing instruments, or mixing tracks, proper acoustic treatment is essential for achieving professional results.
Assessing Your Room’s Acoustic Characteristics
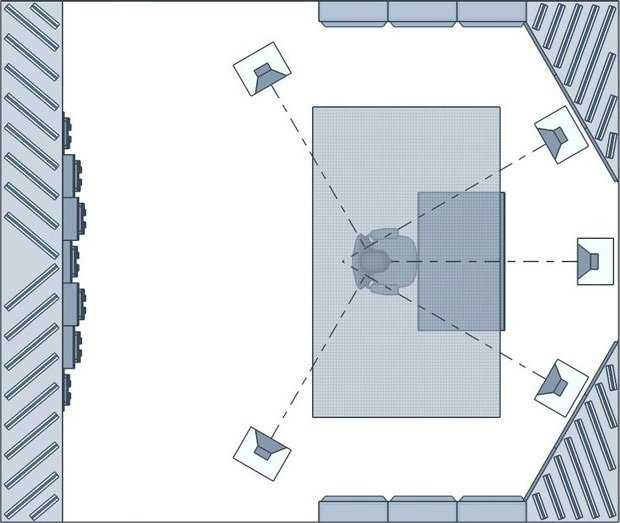
Before diving into the various options for how to acoustically treat a room, it’s important to assess your room’s acoustic characteristics. Every room has unique acoustic properties that can affect the sound quality. By understanding these characteristics, you can identify the specific issues that need to be addressed in your home music studio.
Direct Sound vs. Reflected Sound
When sound is produced in a room, it travels in two main ways – as direct sound and reflected sound. The direct sound travels in a straight line from the sound source to your ears or microphone, remaining unaffected by the room’s acoustics. In contrast, reflected sound, which acoustic room treatment aims to manage, bounces off the room’s surfaces, resulting in reverberation and unwanted echoes that can significantly impact the quality of your recordings.
Identifying Common Acoustic Issues
To determine if your room requires acoustical room treatments, there are a few common acoustic issues to look out for:
- Excessive Reverberation: If your room has a long decay time, meaning that sound lingers for too long after it has been produced, it can result in a muddy mix and poor clarity.
- Flutter Echo: Flutter echo occurs when sound rapidly bounces back and forth between two parallel surfaces, creating distinct echoes. This can lead to a distorted and unnatural sound.
- Standing Waves and Room Modes: Standing waves and room modes occur when sound waves get trapped between two parallel boundaries, such as walls or the floor and ceiling. These can cause certain frequencies to be exaggerated or canceled out, resulting in an uneven frequency response.
- Comb Filtering: Comb filtering occurs when the direct sound combines with its reflections, causing frequency cancellations and notches in the frequency spectrum. This can lead to a hollow or thin sound.
By listening carefully and conducting simple tests in your room, such as clapping your hands or playing test tones, you can identify these acoustic issues and determine if room sound treatment is necessary.
DIY Acoustic Treatment on a Budget

Acoustic treatment doesn’t have to break the bank. Even with a limited budget, there are several DIY acoustic treatments that can significantly improve the acoustics of your home music studio. Let’s explore some cost-effective solutions for achieving the best acoustic treatment DIY on a budget.
Optimizing Speaker Placement
One of the simplest and most effective ways to improve the acoustics of your room is to optimize the placement of your speakers, including installing acoustic panels behind speakers. By strategically positioning your speakers and panels, you can minimize reflections and create a more accurate listening environment. Consider the following tips:
- Move your speakers away from the walls to reduce reflections.
- Center your desk in the room and position your speakers in an equilateral triangle with your head.
- Place your desk parallel to the longer walls of the room to allow for better sound dispersion.
These simple adjustments can make a significant difference in the clarity and accuracy of your monitoring environment.
Using Common Household Items for Absorption
Believe it or not, sound treating a room can be achieved using common household items. Look around your home for soft fabric materials such as blankets, towels, curtains, or even pillows. These materials can be strategically placed on reflective surfaces such as bare walls or windows to help absorb and reduce unwanted reflections.
Building DIY Acoustic Panels
If you’re willing to put in a little more effort, diy acoustic treatment can be a cost-effective solution. Acoustic panels are designed to absorb sound reflections and improve the overall acoustics of your room. Here’s a step-by-step process for building DIY acoustic panels:
- Gather Materials: You’ll need a few key materials, including wooden frames, insulation material (such as rockwool or fiberglass), fabric for covering the panels, and adhesive.
- Measure and Cut the Frame: Measure and cut the wooden frames to the desired size of your panels. These frames will hold the insulation material.
- Install Insulation: Attach the insulation material to the wooden frames using adhesive. Make sure the insulation fits snugly within the frames.
- Cover with Fabric: Stretch and staple the fabric tightly over the front of the panel, ensuring a smooth and even surface. Trim any excess fabric.
- Mount the Panels: Finally, mount the panels on the walls of your studio using appropriate hardware, ensuring they are positioned strategically to absorb reflections.
By following this DIY approach, you can create effective acoustic panels without breaking the bank. These panels can significantly improve the sound quality and create a more controlled listening environment in your home music studio.
Utilizing Diffusion Techniques
In addition to absorption, diffusion is an essential element of effective audio room treatment. Diffusion scatters sound reflections, preventing them from getting trapped in one spot and preserving the natural tone of the room. While diffusion materials and panels can be more expensive, there are DIY diffusion options available.
One DIY diffusion technique is to create a skyline diffuser. This type of diffuser consists of alternating heights and depths of wooden blocks, creating a pattern that diffuses sound reflections. By carefully arranging these blocks on a panel, you can achieve diffusion without the need for costly commercial diffusers.
Mid-Range Acoustic Treatment Options
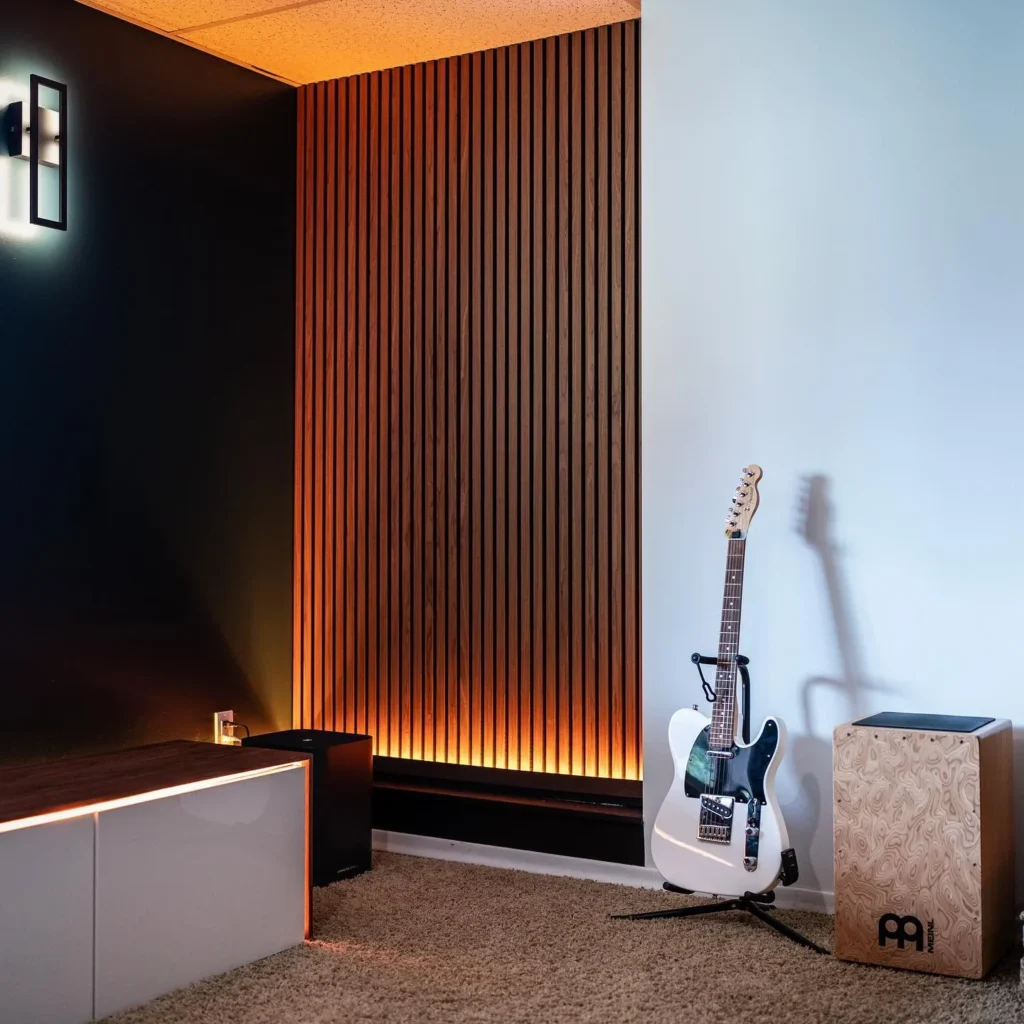
If you have a slightly larger budget, sound treatment for home studio can be enhanced with mid-range options that provide more comprehensive and professional results. Let’s delve into some of these sound treatment for home studio options:
Pre-Fabricated Acoustic Panels
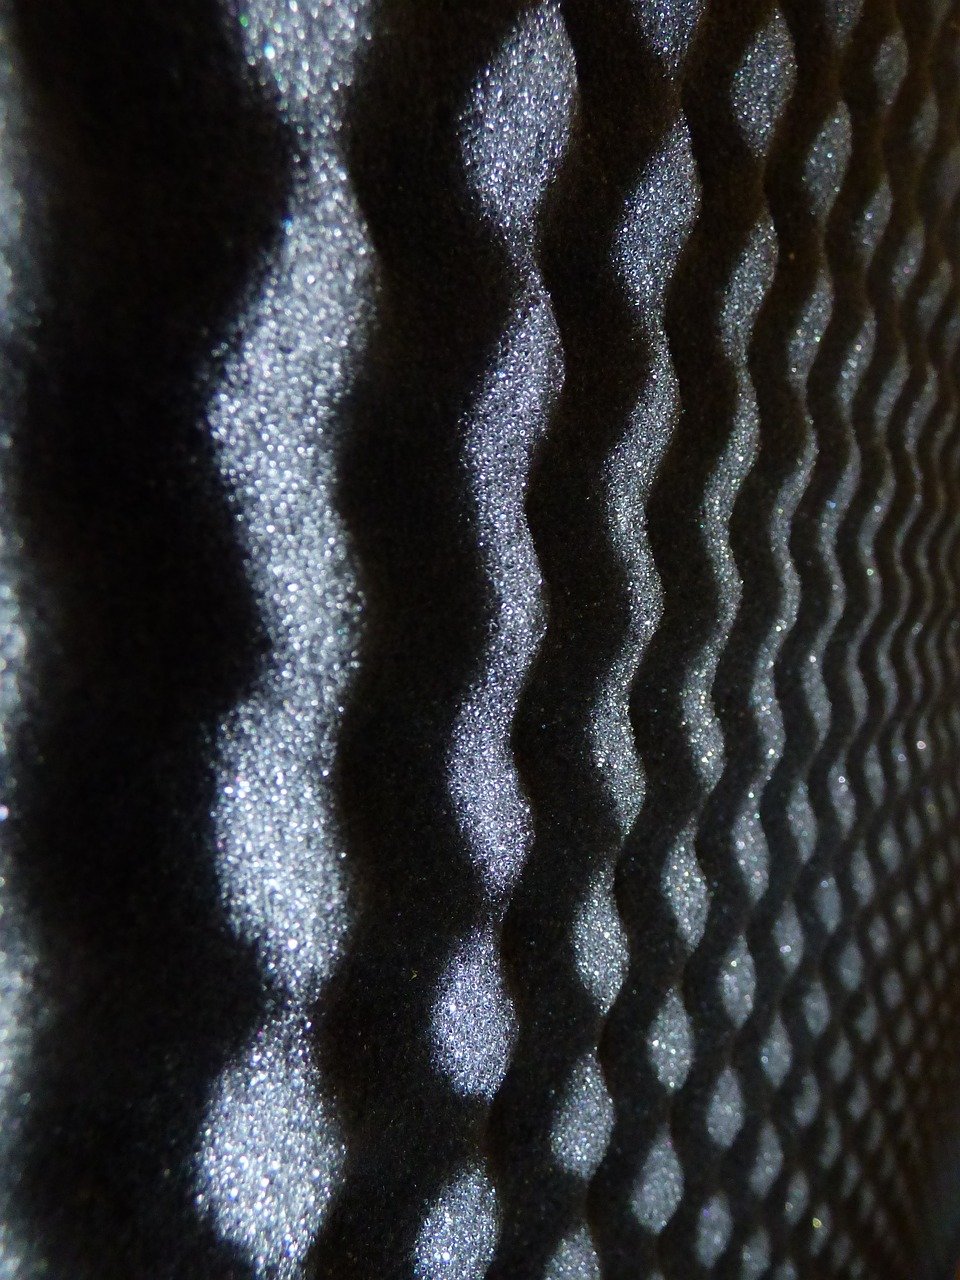
Pre-fabricated acoustic treatment panels offer a convenient and effective solution for mid-range acoustic treatment. These panels, designed specifically for sound absorption, come in various sizes and designs to complement different room sizes and aesthetics, often featuring easy installation options like adhesive backing or mounting brackets.
When choosing pre-fabricated panels, look for panels that offer a high Noise Reduction Coefficient (NRC) rating. The NRC rating indicates the panel’s ability to absorb sound across a range of frequencies. Aim for a panel with an NRC rating of 0.8 or higher for optimal sound absorption.
Bass Traps
Bass traps, which can also be considered broadband absorbers, are another crucial component of a well-treated home music studio. Low-frequency sound waves, particularly challenging to control as they tend to accumulate in corners and create standing waves, are effectively managed by bass traps designed to absorb these problematic frequencies, thus reducing bass build-up and enhancing overall sound balance.
Pre-fabricated bass traps come in various shapes and sizes, including corner bass traps and freestanding options. They can be placed in room corners or strategically positioned to target specific areas of bass build-up. When selecting bass traps, opt for those with a high absorption coefficient for low frequencies.
Diffusion Panels
In addition to absorption, acoustic panel placement of diffusion panels can further refine the acoustics of your home music studio. These diffusion panels scatter sound reflections, fostering a more balanced and natural sound environment. Pre-fabricated diffusion panels, available in diverse designs and sizes, offer a hassle-free enhancement for mid-range acoustic treatment.
When selecting diffusion panels, consider the diffusion coefficient, which indicates the panel’s ability to scatter sound reflections. Look for panels with a high diffusion coefficient to ensure optimal diffusion in your room.
Professional-Grade Acoustic Treatment Solutions
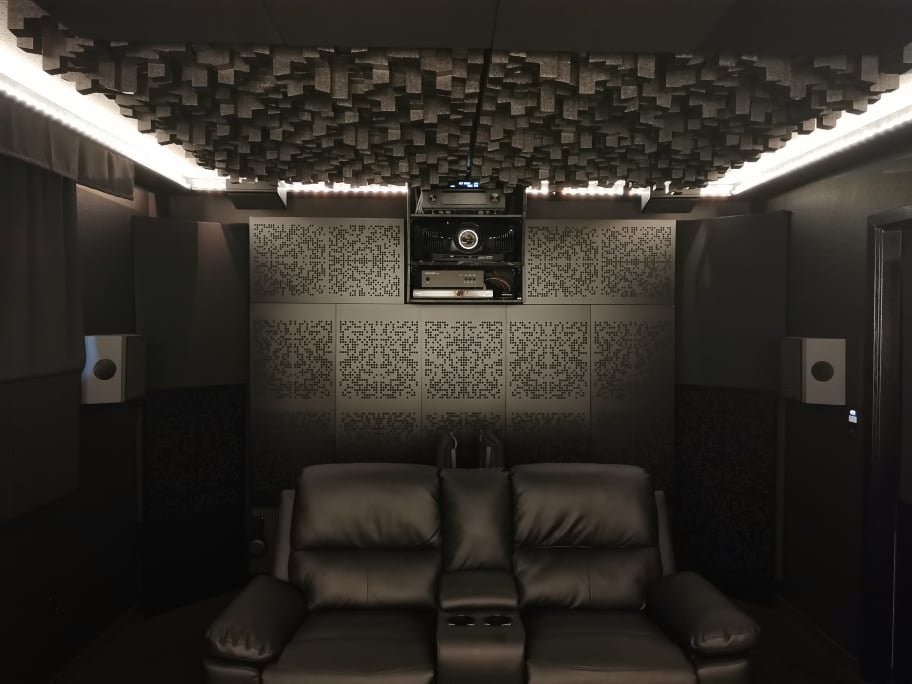
For those with a more generous budget or a desire for the highest level of acoustic treatment, professional-grade solutions are available. These solutions offer the most advanced acoustical performance and are commonly used in professional recording studios. Let’s explore some of the options for professional-grade acoustic treatment for studio environments:
Custom-Tailored Acoustic Panels
Custom-tailored acoustic panels offer the ultimate level of control and precision in music studio acoustic treatment. These panels are designed specifically for your room’s dimensions and acoustic characteristics. By working with acoustic engineers or consultants, you can create a customized acoustic treatment plan that addresses your room’s unique challenges.
Custom-tailored panels are typically made from high-density materials that provide superior sound absorption. The panels can be covered with a wide range of fabric options, allowing you to achieve both acoustic performance and aesthetic appeal.
Diffusion Systems
Professional diffusion systems take diffusion to the next level, offering advanced control over sound reflections. These systems utilize complex diffusion algorithms and custom diffuser designs to create a highly controlled and balanced sound environment, ideal for recording studio acoustic treatment.
Diffusion systems are often integrated into the walls or ceilings of a room, providing a seamless and aesthetically pleasing solution. These systems can be fine-tuned to achieve precise diffusion characteristics, ensuring optimal sound dispersion and natural ambience.
Room-in-Room Construction
For those seeking the highest level of acoustic isolation and control, room-in-room construction is a viable option. This approach involves building a separate, fully isolated room within an existing room. The inner room is designed to have optimal acoustic properties, including soundproofing, absorption, and diffusion, making it an excellent room treatment for home studio setups.
Room-in-room construction requires significant planning and construction expertise. It is typically reserved for professional recording studios or dedicated listening rooms where the highest level of acoustic performance is required, making it a cornerstone of recording studio design.
Testing and Fine-Tuning Your Acoustic Treatment
Once you’ve implemented your chosen acoustic treatment solutions, it’s crucial to test and fine-tune the results to understand how to sound treat a room effectively. Here are a few tips for testing and optimizing your acoustic treatment:
- Frequency Response Analysis: Use a measurement microphone and frequency analysis software to measure the frequency response of your room. This will help you identify any remaining frequency imbalances that need to be addressed.
- Positioning Adjustments: Experiment with the placement of your acoustic panels, bass traps, and diffusion panels to achieve the best possible sound balance. Small adjustments in positioning can have a significant impact on the overall sound quality.
- Listening Tests: Conduct extensive listening tests to evaluate the effectiveness of your acoustic treatment. Listen to a wide range of music genres and pay attention to the clarity, detail, and balance of the sound. Make adjustments as necessary to achieve the desired results.
- Room Calibration: Consider using room calibration software or hardware to further optimize your acoustic treatment. These tools can help correct any remaining frequency response issues and ensure an accurate listening environment.
Maintaining Your Acoustic Treatment
Acoustic treatment is a vital investment in your home music studio’s sound quality, and maintaining it properly is essential. Here are a few tips for maintaining your acoustic treatment home studio to ensure longevity and performance:
- Regular Cleaning: Dust and dirt can accumulate on the surface of acoustic panels, reducing their effectiveness. Regularly clean the panels using a soft brush or vacuum cleaner with a brush attachment to remove any debris.
- Inspect for Damage: Periodically inspect your acoustic panels, bass traps, and diffusion panels for any signs of damage or wear. Replace or repair any damaged panels to maintain optimal acoustic performance.
- Monitor Room Conditions: Keep an eye on temperature and humidity levels in your home music studio. Extreme fluctuations in temperature and humidity can affect the performance and lifespan of your acoustic treatment. Aim for a stable and comfortable environment for both your equipment and acoustic treatment.
- Update and Upgrade: As technology and acoustic treatment techniques evolve, consider updating or upgrading your acoustic treatment to take advantage of new advancements. Stay informed about the latest developments in the field of acoustic treatment to ensure your home music studio remains at the forefront of sound quality.
Conclusion
Achieving the best acoustic treatment for your home studio is crucial for producing professional-quality recordings and mixes. Whether you’re working with a tight budget or can invest in professional-grade solutions, there are options to suit your needs. By understanding acoustics and applying the right treatment techniques, you can create an optimal listening environment that nurtures your creativity. Invest in your home music studio’s acoustics, and you’ll enjoy the benefits of accurate, balanced, and inspiring sound.
Remember, building a home music studio is an ongoing process, and continuous learning and improvement are key. Stay passionate, explore new techniques, and connect with the music production community to enhance your skills and create music that truly resonates with your audience.
This post may contain affiliate links. If you make a purchase through these links, we may earn a small commission at no additional cost to you.

