Are you ready to turn your creative ideas into professional-quality music right from the comfort of your own home? With the advancements in technology and the affordability of home recording studio equipment, building a home studio has never been easier. Whether you’re a beginner or a seasoned pro, having the right equipment is essential for creating top-notch recordings.
In this comprehensive guide, we’ll walk you through the essential home recording studio equipment list that will help you set up your dream studio. From computers and software to microphones and monitors, we’ve got you covered. Get ready to unleash your creativity and take your music production skills to the next level.
The Power of a Home Recording Studio
Gone are the days when you needed a costly professional studio to create high-quality music. With a home recording studio, you have the power to produce, record, mix, and master your tracks without breaking the bank. Whether you’re a singer-songwriter, a podcaster, or a video content creator, having a dedicated space for your creative endeavors can take your projects to new heights.
Creating a home recording studio allows you the flexibility to work on your own schedule, experiment with different sounds and techniques, and have complete control over your creative process. It’s a space where you can bring your musical ideas to life and share them with the world.
Choosing the Right Studio Computer
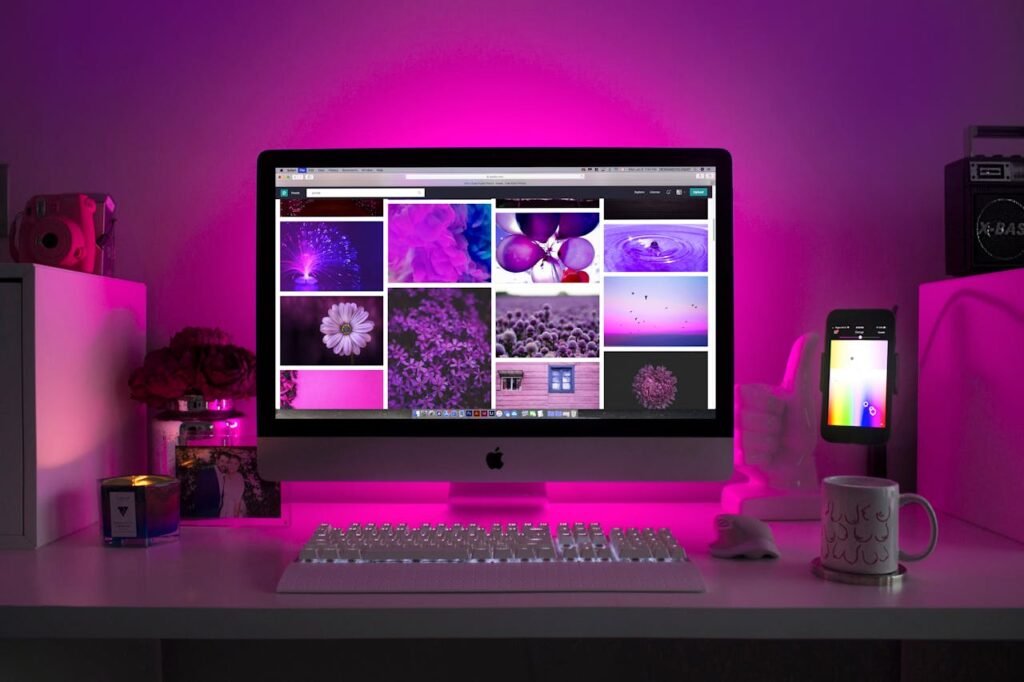
Your computer is the heart and soul of your home recording studio. It’s where all the magic happens, from running your digital audio workstation (DAW) to storing and processing your recordings. When choosing a computer for your home studio, there are a few key factors to consider.
Mac or PC: Which is Right for You?
The age-old debate of Mac vs. PC continues in the music production world. Both platforms have their pros and cons, and the choice ultimately comes down to personal preference and budget.
Mac computers, especially those in the MacBook Pro lineup, have long been favored by musicians and producers for their stability, reliability, and optimized performance with audio software. They offer a seamless integration with popular DAWs like Logic Pro and have a reputation for delivering consistent results in the studio.
On the other hand, PCs offer a wider range of options in terms of hardware configurations and price points. With a PC, you have the flexibility to customize your system based on your specific needs and budget. Many music producers swear by PCs for their processing power, expandability, and compatibility with a variety of audio interfaces and plugins.
Ultimately, the choice between Mac and PC comes down to your personal preferences, budget, and familiarity with the operating system. Both platforms can deliver excellent results in a home recording studio setup.
Studio Considerations
Regardless of whether you choose a Mac or PC, there are a few key specifications to consider when selecting a computer for your home studio:
- Processor (CPU): Look for a computer with a fast and powerful processor. The CPU determines how quickly your computer can handle complex tasks, such as running multiple tracks and effects in your DAW. Aim for a quad-core or higher processor for optimal performance.
- Memory (RAM): The amount of RAM in your computer affects its ability to handle large projects and multitask efficiently. For most home studio setups, 8GB of RAM should be sufficient, but if you plan on working with complex arrangements and virtual instruments, consider upgrading to 16GB or more.
- Storage: Opt for a computer with ample storage space to store your audio files, plugins, and samples. Solid-state drives (SSDs) are highly recommended for faster data access and improved performance. Aim for at least 500GB of storage, but if budget allows, consider upgrading to 1TB or larger to accommodate your growing library of music projects.
- Operating System (OS): Choose an operating system that is compatible with your preferred DAW and audio interfaces. Mac computers come with macOS, while PCs typically run on Windows. Ensure that your chosen OS supports the software and hardware you plan to use in your home studio.
- Connectivity: Look for a computer with a variety of ports and connectivity options to connect your audio interfaces, MIDI controllers, and other peripherals. USB, Thunderbolt, and HDMI ports are commonly used in home recording studios.
- Monitor Size: Consider the size and resolution of your computer’s display. A larger screen with a high-resolution display can provide a more comfortable and immersive workflow, allowing you to see more tracks and details in your DAW.
Remember, the computer is the foundation of your home recording studio, so invest in a reliable and capable system that will meet your current and future needs. View our guide here !
Digital Audio Workstation (DAW)
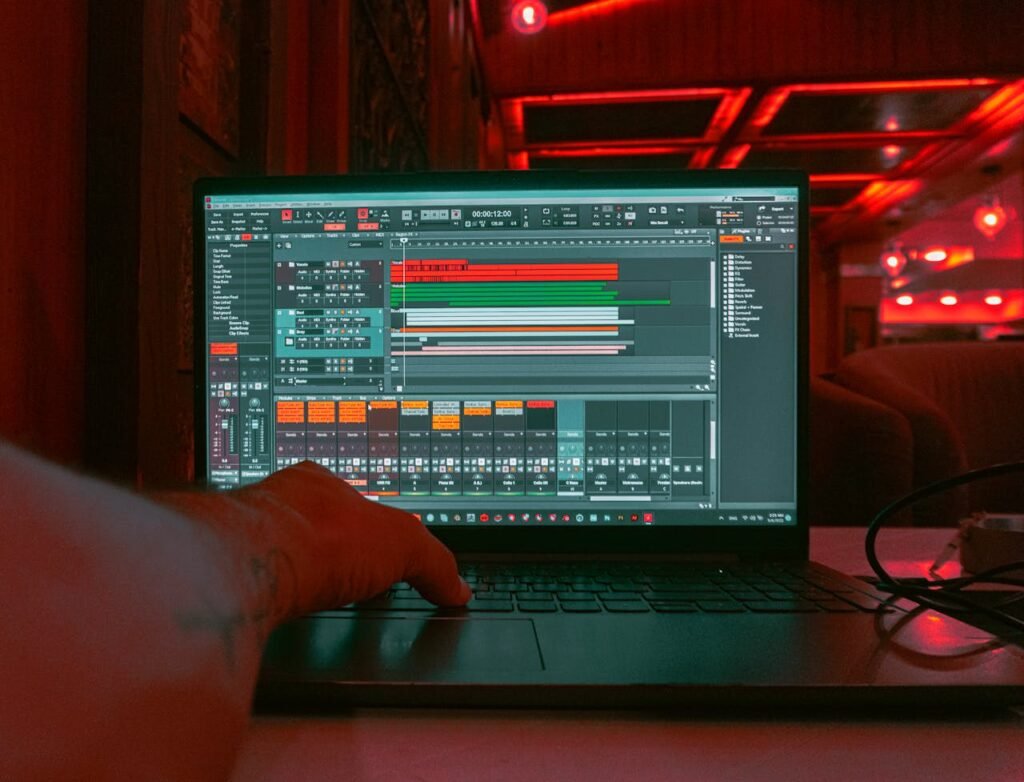
The digital audio workstation (DAW) is the software that acts as the centerpiece of your home recording studio. It allows you to record, edit, mix, and master your music, providing you with the tools and features necessary to bring your creative ideas to life.
There are several DAW options available, each with its own unique features and workflow. Some popular DAWs include:
- Logic Pro: Exclusive to Mac users, Logic Pro is a powerful and versatile DAW known for its intuitive interface and extensive set of virtual instruments and effects. It’s a favorite among many music producers and offers a comprehensive set of tools for recording, editing, and mixing.
- Ableton Live: Ableton Live is a popular choice for electronic music producers and live performers. Its unique Session View allows for flexible and improvisational music creation, while its Arrangement View offers a more traditional linear approach to recording and arranging music.
- Pro Tools: Pro Tools is widely used in professional studios and is considered the industry standard for audio recording and editing. It offers robust features and advanced editing capabilities, making it a favorite among audio engineers, mixers, and mastering engineers.
- FL Studio: FL Studio, also known as Fruity Loops, is a versatile DAW favored by electronic
- music producers and beatmakers. It offers a user-friendly interface, a wide range of virtual instruments and effects, and a unique pattern-based workflow.
- Studio One: Studio One is a feature-rich DAW that combines ease of use with professional-grade recording and mixing capabilities. It offers a streamlined workflow, powerful drag-and-drop functionality, and a wide range of virtual instruments and effects.
When choosing a DAW, consider your specific needs, preferences, and the genre of music you’ll be producing. Many DAWs offer free trial versions, allowing you to test them out and see which one best suits your workflow and creative style. You can go through our guide for more !
Audio Interface for Home Studios
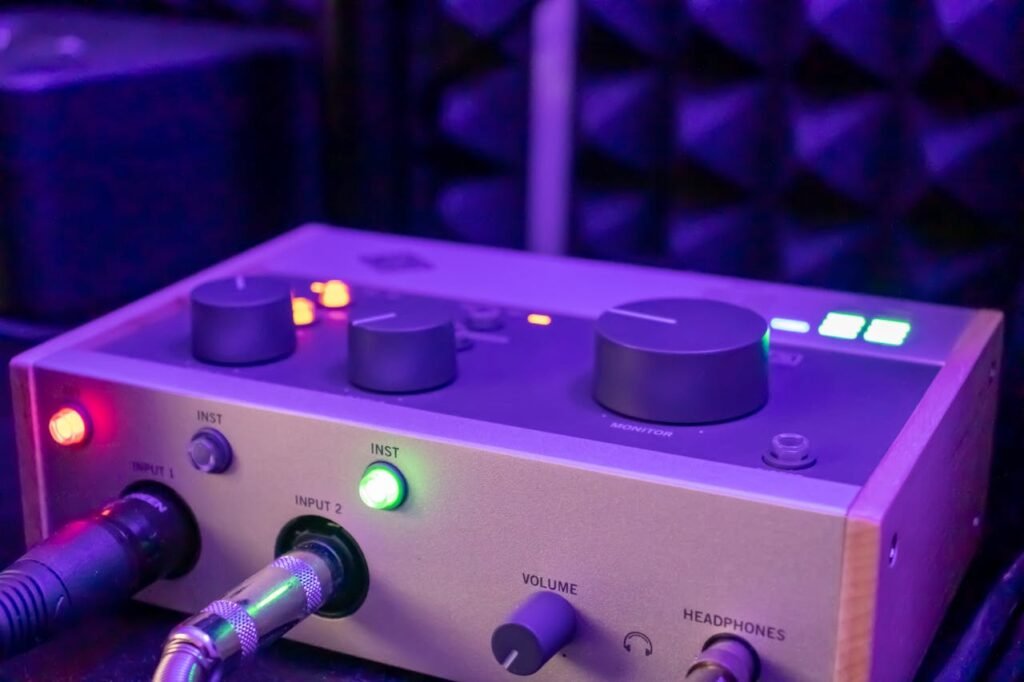
An audio interface is an essential piece of equipment that connects your microphones, instruments, and speakers to your computer. It acts as the bridge between the analog and digital worlds, converting analog audio signals into digital data that your computer can process.
When selecting an audio interface for your home recording studio, consider the following factors:
- Input and Output Channels: Determine how many simultaneous inputs and outputs you’ll need for your recording setup. If you plan on recording multiple instruments or microphones simultaneously, opt for an interface with multiple input channels. Similarly, if you plan on connecting multiple sets of speakers or headphones, make sure the interface has enough output channels.
- Preamps: Preamps are responsible for amplifying the low-level signals from microphones and instruments to a level that can be properly recorded. Look for an audio interface with high-quality preamps to ensure clean and transparent recordings.
- Sample Rate and Bit Depth: The sample rate and bit depth determine the quality and resolution of your recordings. Higher sample rates and bit depths result in better audio fidelity but also require more processing power and storage space. Aim for an audio interface that supports at least 24-bit/48kHz recording.
- Compatibility: Ensure that the audio interface is compatible with your computer’s operating system (Mac or PC) and your chosen DAW. Most interfaces offer drivers and software that are specifically designed for different operating systems.
- Connectivity: Consider the types of connections and ports available on the interface. Common types include USB, Thunderbolt, and FireWire. Choose an interface that offers the right connections for your computer and other peripherals.
- Phantom Power: If you plan on using condenser microphones, make sure the audio interface provides phantom power. Phantom power is necessary to power these types of microphones and ensure optimal performance.
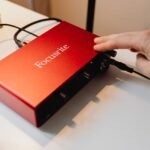
Some popular audio interfaces for home recording studios include the Focusrite Scarlett series, the PreSonus AudioBox series, the Universal Audio Apollo Twin, and the MOTU M2. Research and compare different models based on your specific needs and budget. Click here for more on audio interfaces!
Microphones
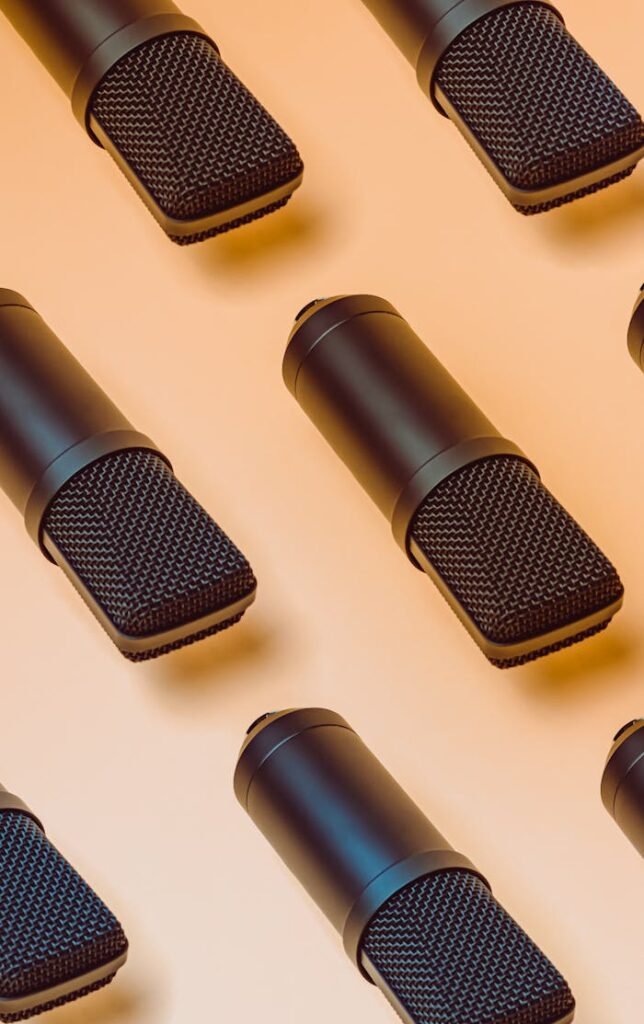
A high-quality microphone is a crucial component of any home recording studio. It allows you to capture vocals and instruments with clarity and detail, ensuring that every nuance of your performance is faithfully reproduced.
When selecting a microphone, consider the following factors:
- Microphone Type: There are several microphone types to choose from, including dynamic, condenser, and ribbon microphones. Each type has its own strengths and is best suited for specific applications. Dynamic microphones are durable and can handle high sound pressure levels, making them ideal for live performances and recording loud instruments. Condenser microphones are more sensitive and capture a wider frequency range, making them suitable for vocals and capturing subtle details. Ribbon microphones offer a warm and vintage sound, often used for recording guitars and other acoustic instruments.
- Polar Pattern: The polar pattern of a microphone determines its sensitivity to sound from different directions. Common polar patterns include cardioid, omnidirectional, and figure-8. Cardioid microphones are most commonly used in home studios as they pick up sound from the front and reject sound from the sides and rear, reducing unwanted background noise.
- Frequency Response: The frequency response of a microphone refers to its ability to capture different frequencies. Look for a microphone with a wide and flat frequency response for accurate and natural sound reproduction.
- Budget: Microphones come in a wide range of price points, from budget-friendly options to high-end professional models. Set a budget that suits your needs and consider investing in a microphone that will deliver the best sound quality within that budget.
Popular microphones for home recording studios include the Shure SM58 (dynamic), Audio-Technica AT2020 (condenser), and the Rode NT1 (condenser). Experiment with different microphones to find the one that complements your voice or instrument and captures the sound you desire. For a complete view of the best microphones to use in 2024.
Studio Headphones and Monitors
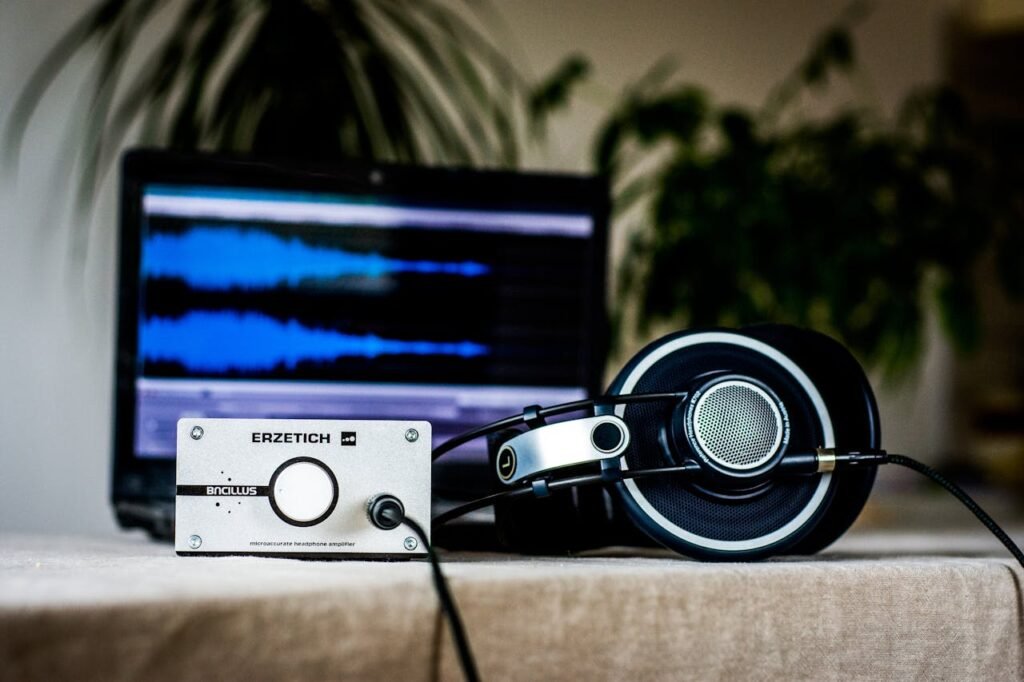
Having accurate monitoring is essential for making informed decisions during the recording, mixing, and mastering process. While headphones provide a more isolated and detailed listening experience, studio monitors offer a more realistic representation of how your music will sound in different playback systems.
Headphones
When choosing headphones for your home recording studio, consider the following factors:
- Closed-Back vs. Open-Back: Closed-back headphones provide better isolation and are ideal for tracking and recording, as they prevent sound leakage. Open-back headphones offer a more natural and spacious sound but may not be suitable for recording in a noisy environment.
- Frequency Response: Look for headphones with a wide and flat frequency response for accurate sound reproduction. Avoid headphones with exaggerated bass or treble, as they can skew your perception of the mix.
- Comfort: Consider the comfort and fit of the headphones, especially if you plan on wearing them for extended periods. Look for adjustable headbands, cushioned ear cups, and a lightweight design.
Some popular headphones for home recording studios include the Audio-Technica ATH-M50x, the Sennheiser HD 650, and the Beyerdynamic DT 990 Pro. These headphones offer a good balance of sound quality, comfort, and affordability.
Studio Monitors
Studio monitors, also known as reference monitors, are designed to provide accurate and transparent sound reproduction. When choosing studio monitors for your home recording studio, consider the following factors:
- Nearfield vs. Midfield: Nearfield monitors are designed for close listening and are ideal for small to medium-sized studios. Midfield monitors are larger and provide more power and extended frequency response, making them suitable for larger control rooms.
- Frequency Response: Look for monitors with a flat frequency response to ensure accurate sound reproduction. Pay attention to the low-frequency response and consider adding a subwoofer if you need to monitor the low end more accurately.
- Room Size and Acoustic Treatment: Consider the size of your room and the acoustic treatment you have in place. Smaller rooms may benefit from smaller monitors, while larger rooms may require more powerful monitors to fill the space.
- Placement and Calibration: Proper placement of your studio monitors is crucial for achieving an accurate and balanced sound. Follow manufacturer guidelines for placement and consider using monitor isolation pads or stands to minimize vibrations and improve sound quality.
Popular studio monitors for home recording studios include the Yamaha HS series, the KRK Rokit series, and the Adam Audio T series. These monitors offer a good balance of sound quality, affordability, and reliability.
MIDI Controllers
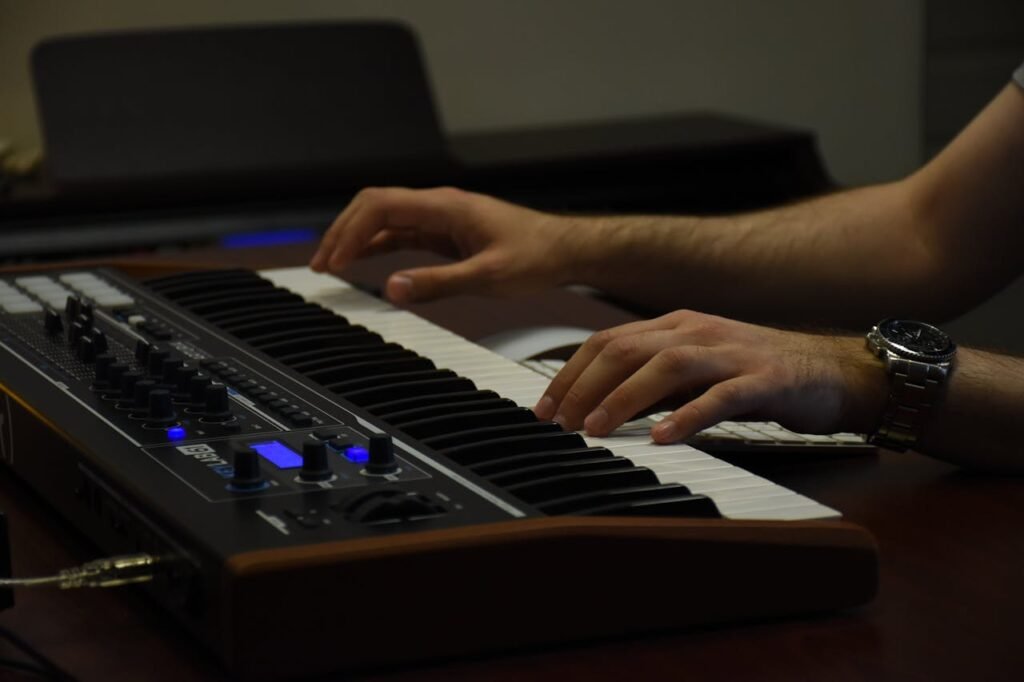
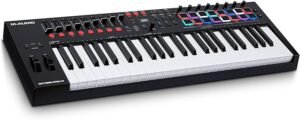
MIDI controllers are essential tools for music producers, allowing you to play and control virtual instruments, synths, and samplers directly from your computer. They come in various forms, including keyboards, pad controllers, and drum machines, and provide a hands-on approach to music creation.
When choosing a MIDI controller for your home studio, consider the following factors:
- Keyboard Size and Action: If you plan on playing piano or keyboard-based instruments, consider the size and action of the keys. Some MIDI controllers offer full-size, weighted keys to mimic the feel of a traditional piano, while others have smaller, synth-action keys.
- Pads and Knobs: Look for controllers with assignable pads and knobs to control parameters, trigger samples, and add expressive elements to your music.
- Integration with DAWs: Some MIDI controllers offer deep integration with specific DAWs, allowing for seamless control and easy mapping of parameters.
- Connectivity: Consider the connectivity options of the MIDI controller, such as USB, MIDI DIN, and CV/Gate outputs. Ensure that the controller is compatible with your computer and DAW.
Popular MIDI controllers for home recording studios include the Novation Launchkey series, the Akai MPK Mini series, and the Arturia KeyLab series. Choose a controller that fits your workflow and provides the features you need to unleash your creative potential.
Acoustic Treatment
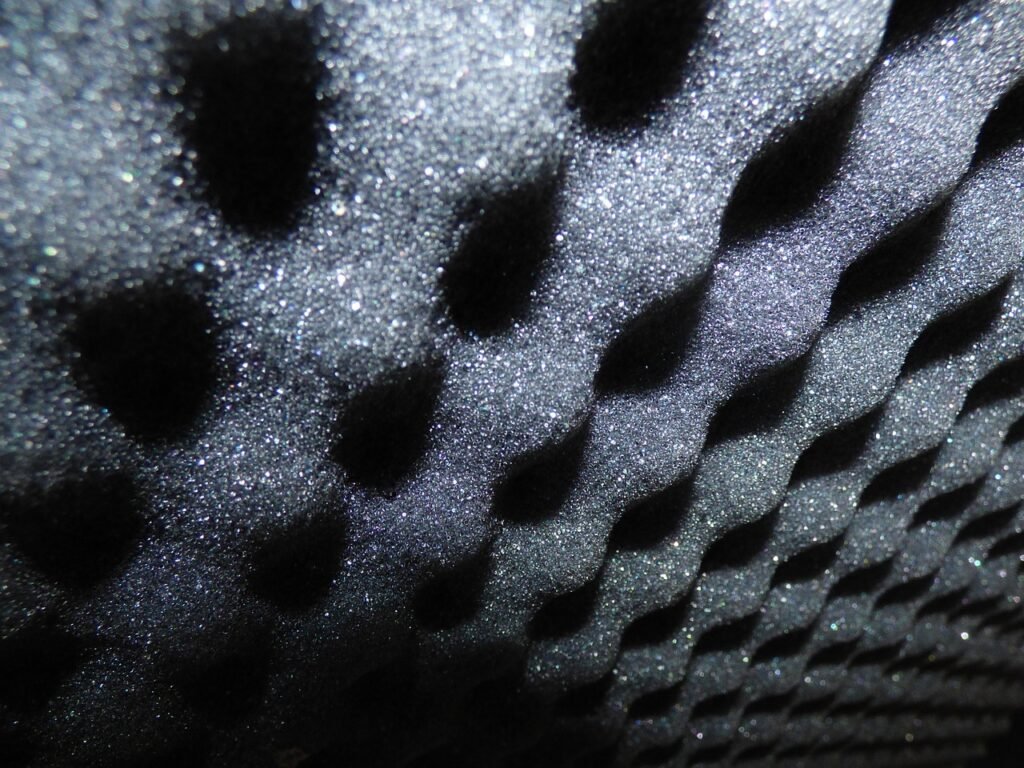
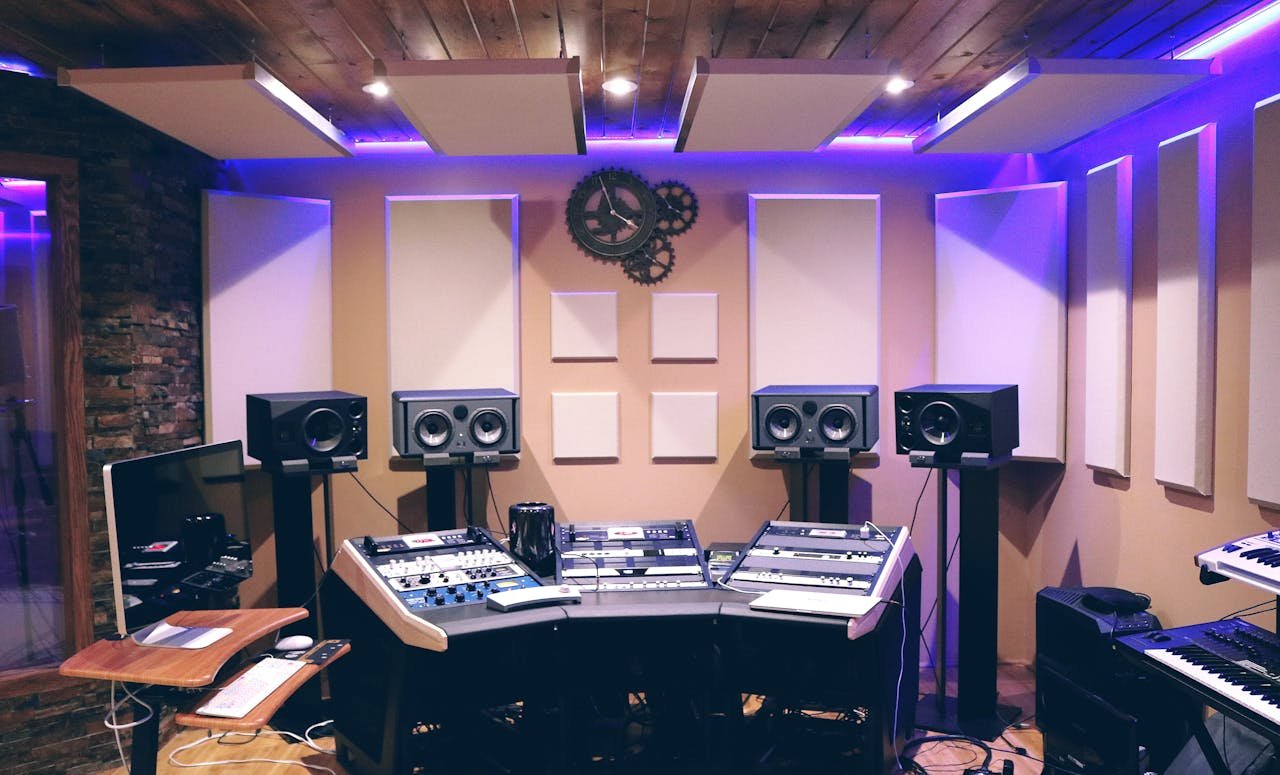
Creating a suitable acoustic environment in your home studio setup is crucial for accurate monitoring and sound reproduction. Acoustic treatment helps control reflections, dampen resonances, and create a balanced listening environment.
Here are some essential elements of acoustic treatment for your home recording studio:
- Bass Traps: Bass traps are designed to absorb low-frequency sound waves and reduce room resonances. Placing bass traps in the corners of your room can help minimize bass build-up and improve overall sound clarity.
- Absorption Panels: Absorption panels are used to control reflections and minimize echoes in your room. They can be placed strategically on walls, ceilings, and behind the listening position to create a more controlled and accurate sound environment.
- Diffusers: Diffusers scatter sound waves to create a more even distribution of sound energy in the room. They help reduce flutter echoes and create a more natural and spacious sound.
- Placement and Room Setup: Proper speaker placement and room setup play a crucial role in achieving optimal sound quality. Follow guidelines for the ideal speaker placement, considering factors such as the listening position, room dimensions, and the position of reflective surfaces.
Acoustic treatment can be achieved through commercially available products or DIY solutions. Research different options and consider consulting with an acoustic professional to ensure that your room is properly treated for optimal sound quality.
Cables, Stands, and Accessories
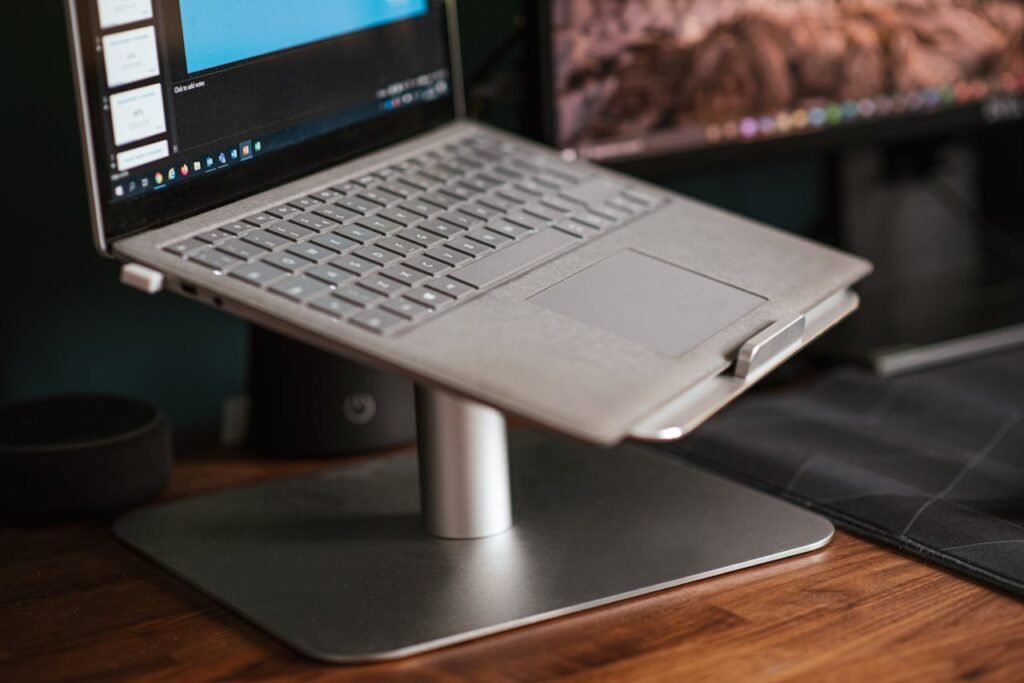
While often overlooked, cables, stands, and accessories are essential components of a well-functioning home studio setup. They ensure reliable connections, provide stability for your equipment, and enhance your workflow.
Here are some essential cables, stands, and accessories to consider:
- XLR Cables: XLR cables are commonly used to connect microphones, audio interfaces, and other audio equipment. Invest in high-quality, balanced XLR cables to ensure clean and reliable signal transmission.
- Instrument Cables: Instrument cables are used to connect guitars, basses, keyboards, and other instruments to audio interfaces or amplifiers. Choose cables with good shielding and durable connectors for optimal performance.
- Microphone Stands: Microphone stands provide stability and allow for precise positioning of microphones during recording. Look for stands with adjustable height, boom arms, and sturdy construction.
- Pop Filters: Pop filters help reduce plosive sounds and unwanted breath noises when recording vocals. They are placed in front of the microphone to prevent strong bursts of air from hitting the microphone capsule.
- Monitor Stands: Monitor stands or isolation pads are used to position studio monitors at the correct height and angle for optimal sound dispersion. They also help minimize vibrations and improve sound quality.
- Cable Management: Consider cable management solutions to keep your cables organized and prevent tangling. Cable ties, cable clips, and cable sleeves can help create a clean and clutter-free workspace.
Investing in high-quality cables, stands, and accessories will ensure reliable connections, minimize interference, and enhance your overall workflow in the home studio.
Software
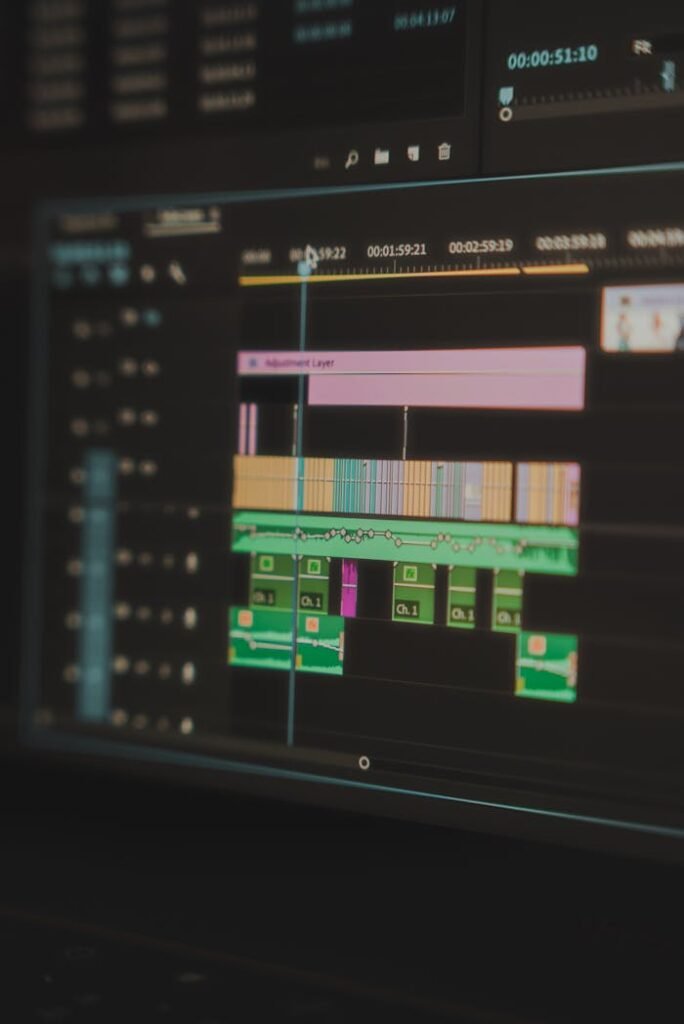
Software plays a crucial role in your home recording studio, allowing you to record, edit, mix, and master your music with ease. Here are some essential software tools for your home studio setup:
- Digital Audio Workstation (DAW): As mentioned earlier, choose a DAW that suits your workflow and creative style. Popular options include Logic Pro, Ableton Live, FL Studio, Pro Tools, and Studio One. Each DAW offers its own unique features and workflow, so take advantage of free trials to find the one that best fits your needs.
- Virtual Instruments and Effects: Virtual instruments and effects plugins expand your sonic palette and allow you to create a wide range of sounds and textures. Look for plugins that cover different instrument categories (e.g., drums, pianos, synths) and offer a variety of effects (e.g., reverb, delay, compression). Simplistic Audio Tools remains a great starting plugin bundle for beginners.
- Sample Libraries: Sample libraries provide a vast collection of pre-recorded sounds and loops that can be used in your music productions. They cover various genres and instrument types, allowing you to quickly and easily add unique elements to your tracks.
- Mixing and Mastering Plugins: Mixing and mastering plugins are essential for achieving a polished and professional sound. EQs, compressors, reverbs, and limiters are just a few examples of plugins that can help shape your mix and bring it to its full potential.
- Video Editing Software: If you plan on creating YouTube videos or working on audio/video projects, video editing software like Adobe Premiere Pro or Final Cut Pro can help you edit, synchronize, and enhance your video content.
Additionally, take advantage of free software, plugins, and sample libraries that are available online. Many companies offer free versions or limited-feature versions of their software, allowing you to explore different options and expand your creative possibilities without breaking the bank.
Setting Up Your Home Studio
Once you have gathered all the necessary equipment and software, it’s time to set up your home studio for optimal performance and creativity. Here are some tips to help you get started:
- Choose the Right Room: Select a room in your home that provides a suitable environment for recording and mixing. Consider factors such as room size, shape, and acoustics. A dedicated room with minimal background noise and good sound isolation is ideal.
- Acoustic Treatment: Invest in acoustic treatment to control reflections, reduce echoes, and create a more controlled listening environment. Use bass traps, absorption panels, and diffusers strategically to achieve optimal sound quality.
- Speaker Placement: Position your studio monitors at ear level, forming an equilateral triangle with your listening position. Experiment with speaker placement to find the sweet spot that provides a balanced and accurate sound.
- Desk and Workstation: Set up a comfortable and ergonomic desk to house your equipment and provide a suitable workspace. Consider cable management solutions to keep your cables organized and prevent tangling.
- Routing and Connectivity: Ensure that all your equipment is properly connected and routed. Use high-quality cables and connectors to minimize signal degradation and interference. Label your cables for easy identification.
- Calibration and Testing: Calibrate your speakers and headphones to achieve a flat frequency response. Use reference tracks to compare your mixes to commercial recordings and ensure that your sound translates well across different playback systems.
- Workflow and Ergonomics: Organize your software and plugins in a way that suits your workflow. Customize your DAW’s key commands and shortcuts to streamline your creative process. Invest in a comfortable chair and consider ergonomic solutions for keyboard and mouse positioning.
Remember, setting up a home studio is an ongoing process. Continuously experiment, learn, and refine your setup to achieve the best possible sound and workflow.
Building Your Dream Studio Within Your Budget
Building a home recording studio doesn’t have to break the bank. With careful planning and smart purchasing decisions, you can create a high-quality setup that fits your budget. Here are some tips for building your dream studio within your means:
- Research and Compare: Take the time to research different brands, models, and options before making a purchase. Read reviews, watch demos, and compare prices to ensure that you’re getting the best value for your money.
- Prioritize Essential Equipment: Identify the most essential pieces of equipment for your specific needs and invest in those first. Focus on items like a reliable computer, a good audio interface, and a quality microphone. You can always add more gear as your budget allows.
- Consider Second-Hand Gear: Don’t overlook the second-hand market when shopping for studio equipment. Many music producers and musicians sell their gear in excellent condition at a fraction of the original price. Just make sure to test and inspect the equipment before making a purchase.
- Take Advantage of Bundles and Deals: Keep an eye out for bundle deals and discounts offered by manufacturers and retailers. They often package multiple items together at a discounted price, allowing you to save money while acquiring essential gear.
- DIY Solutions: Consider DIY solutions for certain aspects of your home studio setup. Acoustic treatment, cable management, and equipment racks can often be built or assembled at a lower cost compared to pre-made options.
- Upgrade Gradually: Building a dream studio takes time. Instead of rushing to buy all the equipment at once, prioritize your purchases and upgrade gradually. Focus on one piece of gear at a time, ensuring that each addition enhances your workflow and improves your sound quality.
Remember, it’s not the gear that makes great music, but how you use it. Focus on developing your skills, honing your craft, and embracing the creative process. With dedication, passion, and the right equipment, you can create professional-quality music in your own home studio set up.
Conclusion
Congratulations on taking the first step towards setting up your dream home recording studio. By following this comprehensive equipment list and considering the specific needs of your music production endeavors, you’re well on your way to creating professional-quality recordings and unleashing your creative potential.
Remember, building a home recording studio is a continuous journey. As you grow as a music producer and refine your sound, you may find the need to upgrade or add new equipment. Embrace the process, experiment, and most importantly, enjoy the creative journey that your home recording studio offers.
Now, it’s time to dive in, explore your equipment options, and start making music that truly reflects your artistic vision. Let your home recording studio be the catalyst for your musical journey, and may it inspire you to create, innovate, and share your music with the world. Happy recording!
This post may contain affiliate links. If you make a purchase through these links, we may earn a small commission at no additional cost to you.

