Welcome to the world of music production! If you’ve ever dreamed of creating your own beats or producing tracks like the pros, you’re in the right place. FL Studio is a powerful digital audio workstation that’s taken the music industry by storm. We’re here to guide you through your first steps in this exciting journey of learning how to use FL Studio.
In this FL Studio tutorial, we’ll cover everything you need to know to get started. We’ll explore the interface, show you how to create your first beat, introduce basic mixing techniques, and walk you through exporting your track. By the end of this guide, you’ll have the skills to begin crafting your own unique sound. So, let’s dive in and unlock your potential as a music producer!
Understanding FL Studio’s Interface
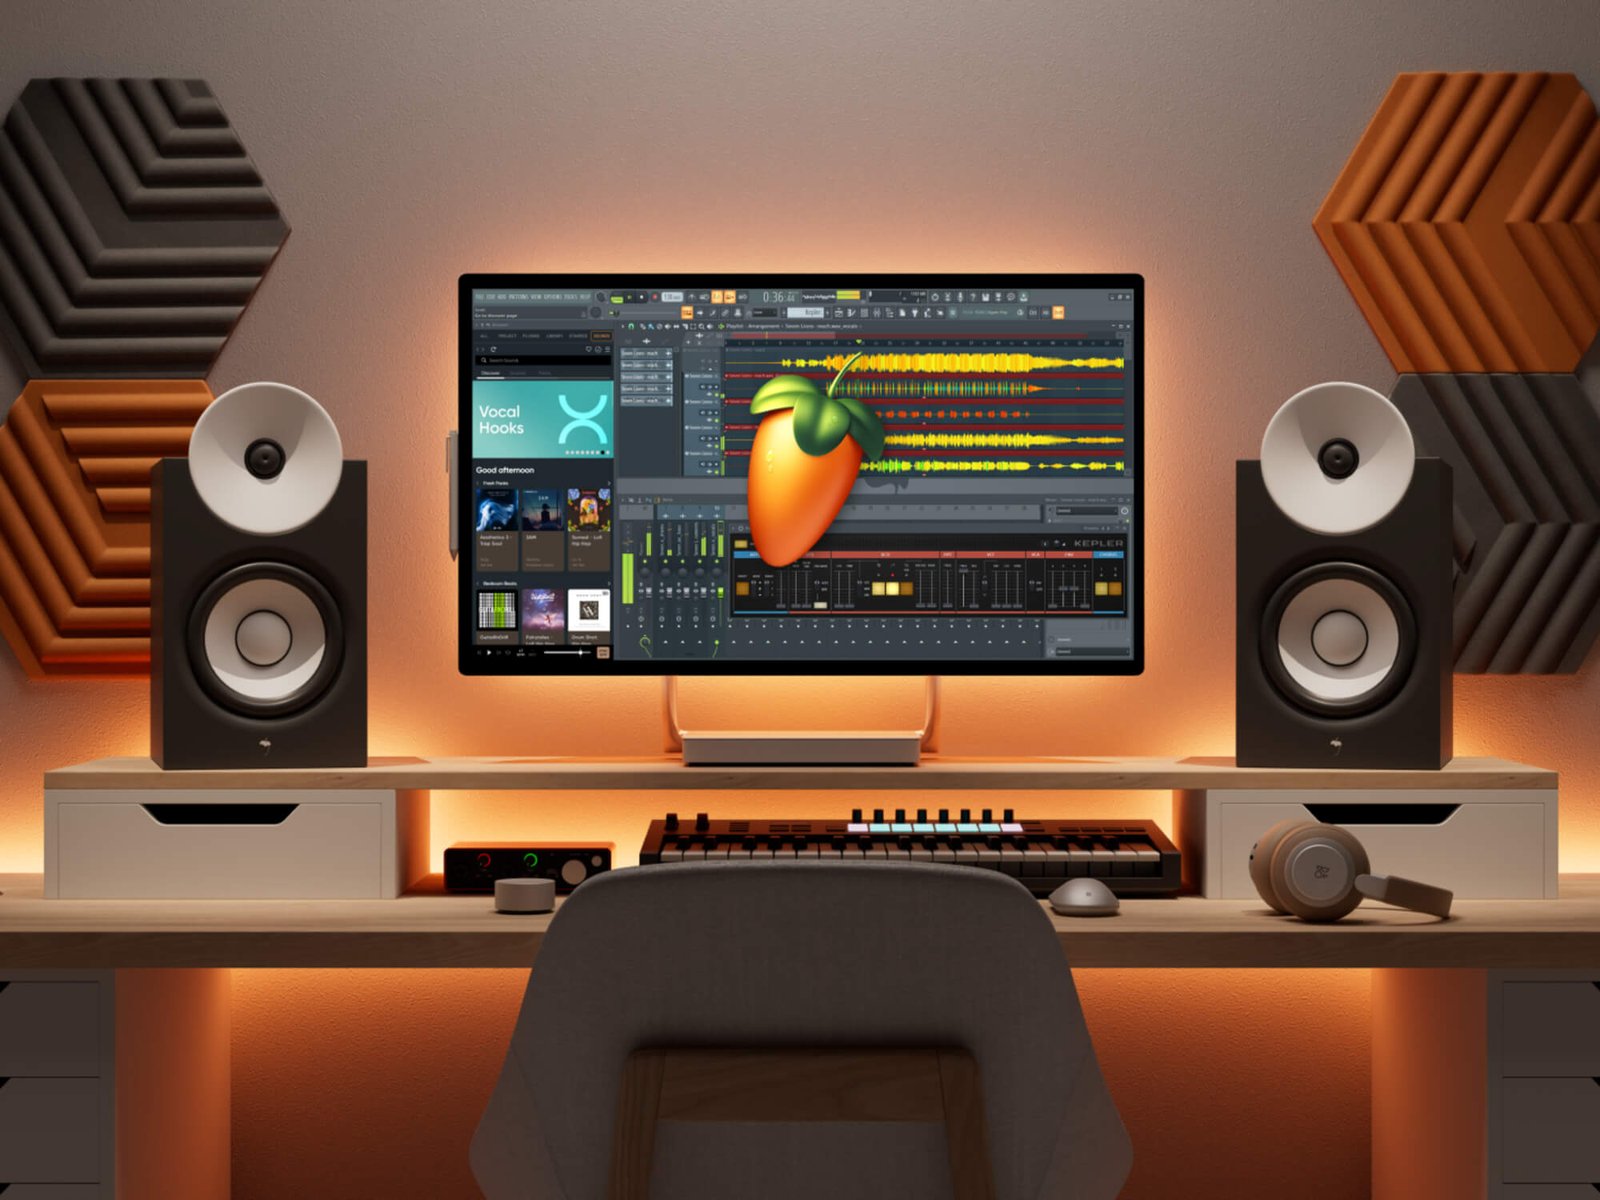
When we first open FL Studio, we’re greeted with a powerful yet intuitive interface. Let’s break it down into its main components and explore how they work together to help us create music.
Channel Rack
The Channel Rack is the heart of our project. It’s where we’ll find all our instruments and automation generators. Think of it as a container for every sound in our song. Each instrument gets its own channel, and we can use any combination of these in our patterns.
To add instruments to the Channel Rack, we have a few options:
- Click the plus button to open a menu of available instruments.
- Use the “Add” menu for a similar list of plugins and instruments.
- Right-click an existing channel and choose “Replace” to swap it out.
- Drag and drop from the browser, which is my personal favorite method.
Piano Roll
The Piano Roll is where the magic happens. It’s our canvas for creating melodies, harmonies, and rhythms. On the left, we see a vertical piano keyboard, and the grid represents time horizontally.
To start composing:
- Select the draw tool (pencil icon) to place notes.
- Left-click to add a note, right-click to delete.
- Click and drag the edge of a note to adjust its length.
We can also use the paint tool to quickly add multiple notes, or the slice tool to chop up existing ones. The zoom tool helps us focus on specific sections, and the playback tool lets us hear our work in progress.
One cool feature is the ability to add slide and portamento effects to notes. Just double-click a note, select these options, and you can create some really interesting sounds.
Playlist
The Playlist is where we arrange our song. It’s a grid where time flows from left to right, and we can place our patterns, audio clips, and automation.
Here’s how we use it:
- Drag patterns from the Channel Rack onto the Playlist.
- Use the draw or paint tool to add clips.
- Right-click to delete or cut up clips with the slice tool.
We can organize our Playlist into groups, which helps keep things tidy. Just right-click a track header to create a new group.
The Playlist is flexible – we’re not limited to specific tracks for specific instruments. We can put any type of clip on any track, which gives us a lot of creative freedom.
Mixer
Finally, we have the Mixer. This is where all our audio comes together, and we can shape the final sound of our track.
Key features of the Mixer:
- Each track can have up to 10 effect slots for adding plugins.
- We can route audio between tracks for more complex processing.
- The parametric EQ lets us fine-tune the frequency balance of each track.
To get started, we need to route our Channel Rack instruments to Mixer tracks. We can do this from the Channel settings or directly from the Channel Rack.
Remember, the Mixer is also where we can record external audio, like vocals or guitars. These recordings will show up in our Playlist as audio clips.
By understanding these four main components – the Channel Rack, Piano Roll, Playlist, and Mixer – we’re well on our way to creating our first track in FL Studio. Each part works together seamlessly, giving us the tools we need to bring our musical ideas to life.
Creating Your First Beat
Now that we’ve got a handle on FL Studio’s interface, let’s dive into creating our first beat. We’ll start by choosing the right drum samples, then use the Step Sequencer to lay down a rhythm, and finally add a melody using the Piano Roll.
Choosing Drum Samples
Selecting the right drum samples is crucial to crafting a great beat. We need to balance genre functionality with our personal style. For instance, if we’re making a UK garage track, we’ll want punchy, sharp snares and claps, rather than the full, long samples used in future bass.
To find the right samples:
- Reference tracks in our chosen genre on platforms like Beatport or Spotify.
- Explore sample packs on Splice or Loopcloud that are specific to our genre.
Remember, while it’s important to fit the genre, we also want our beats to stand out. We can achieve this by layering samples or incorporating elements from different genres.
Let’s start with our kick drum. We’re looking for two main qualities:
- Thump: The low-end frequencies that you feel in your chest.
- Punch: The mid to high frequencies that cut through the mix.
For our 808s, we’ll consider the same qualities, plus the amount of distortion we want. Some genres call for clean 808s, while others benefit from a grittier sound.
Using the Step Sequencer
The Step Sequencer is perfect for creating drum patterns. Here’s how we’ll use it:
- Open the Channel Rack by pressing F6 or clicking its icon.
- Add our chosen kick sample to a channel.
- In the Step Sequencer grid, left-click to activate steps where we want the kick to hit.
Let’s create a basic four-on-the-floor pattern:
X---X---X---X---
Now, let’s add some variation:
X-X-X---X-X-X---
We can do the same for our snare, typically placing it on the 2nd and 4th beats:
----X-------X---
For hi-hats, we might want a faster rhythm:
X-X-X-X-X-X-X-X-
Remember, we can adjust the velocity of each hit by right-clicking and dragging up or down on the step.
Adding Melody with Piano Roll
Now that we have our drum pattern, let’s add a melody using the Piano Roll:
- Add a new channel with a synth or instrument of your choice.
- Right-click on the channel button and select “Piano roll” to open it.
In the Piano Roll, we have some helpful tools:
- Scale highlighting: Click the arrow in the top left, go to Helpers > Scale highlighting. Choose your key and scale.
- Typing keyboard: Turn this on to play notes using your computer keyboard.
Let’s create a simple melody:
- Start with your root note (based on your chosen key).
- Add notes, skipping every other note in the scale to create triads.
- Experiment with different note lengths and rhythms.
Remember, we can adjust the velocity and timing of notes for a more natural feel. Hold Option (on Mac) or Alt (on Windows) and use the scroll wheel to change velocities.
To make our melody more interesting:
- Try different octaves
- Add some off-beat notes
- Experiment with slides between notes
By combining these elements – carefully chosen samples, a solid drum pattern in the Step Sequencer, and an engaging melody in the Piano Roll – we’ve created our first beat in FL Studio. Keep experimenting and refining your sound!
Basic Mixing Techniques
Now that we’ve got our beat laid down, it’s time to dive into some basic mixing techniques. This is where we’ll really start to shape our sound and make our track come alive. Let’s explore the key elements of mixing that’ll help us create a professional-sounding track.
Volume and Panning
The first step in our mixing journey is getting our levels right. We want to make sure each element of our track can be heard clearly without overpowering the others. Let’s start with volume control.
In FL Studio, we’ve got several ways to adjust volume. The channel volume in the Channel Rack is great for quick adjustments, especially before routing to a mixer track. But our main tool for volume control is the mixer fader. This allows us to adjust the volume after our effects chain, giving us more precise control.
Here’s a pro tip: use automation clips to ride the gain throughout your track. This helps create dynamic changes and draws attention to important parts of your mix. Remember, if you turn up one sound to make a point, consider lowering others to make room.
Now, let’s talk about panning. It’s one of the most overlooked yet effective mixing tools. We don’t want all our instruments crowding the center of the mix. Try spreading some of them around, staying within a range of +/- 40%. This will make your mix sound more open, interesting, and powerful.
Adding Effects
Effects can really elevate our track from good to great. In FL Studio, each mixer track has 10 effect slots, giving us plenty of room to experiment.
To add an effect, right-click on an empty slot in the mixer. This brings up a visual list of available plugins. For this tutorial, let’s focus on three essential effects: delay, reverb, and compression.
Delay and reverb can create a sense of space in our mix. For lead vocals, try a longer reverb, while for drums, a shorter reverb often works better. If you’re working with a busy mix, consider using a subtle delay instead of reverb. It tricks the ear into thinking there’s reverb without muddying the mix.
Compression is a powerful tool for controlling dynamics. It’s particularly useful on bass and drum parts. By lowering the attack peaks, we can use the saved headroom to raise the sustain parts of the sound. This can make our track sound louder and more consistent. But be careful not to overdo it – over-compression can make instruments sound squashed and muddy.
EQ Basics
Equalization (EQ) is our secret weapon for shaping the frequency content of our sounds. It’s all about cutting unwanted frequencies and boosting the ones we want to emphasize.
Let’s start with some general guidelines:
- For bass (below 250 Hz), try cutting it on anything that’s not a bass instrument or kick drum. This prevents a muddy low end.
- Mid frequencies (300-3000 Hz) tend to crowd the mix. Cut them from instruments where they’re not needed.
- High frequencies (4000 Hz and up) can make a mix sound brittle if there’s too much. Don’t be afraid to cut them back.
When you’re EQing, be bold. Make dramatic cuts of -10 to -20 dB or more. Instruments might sound strange in solo, but they’ll fit perfectly in the mix.
Remember, mixing is a craft that takes time to master. Be patient with yourself and trust your ears. With practice, you’ll develop an instinct for what sounds right. Keep experimenting, and don’t be afraid to break the rules if it sounds good to you. Happy mixing!
Exporting Your First Track
We’ve reached the exciting moment where we get to share our creation with the world! Exporting our track is the final step in our FL Studio journey, and it’s crucial to get it right. Let’s dive into the process and make sure our masterpiece sounds as good outside the studio as it does inside.
Render Settings
First things first, let’s make sure our project is ready for export. We want to route all our tracks to the mixer and bypass any effects we don’t want in the final mix. It’s also a good idea to name our channels correctly and ensure they’re all sent to the master fader.
Before we hit that export button, let’s check our headroom. We want to make sure none of our tracks are clipping and that the peaks aren’t louder than -6 dB. This gives us some breathing room for the mastering stage.
Now, let’s get to the actual export process. Here’s how we do it:
- Go to File > Export > Wave file (or hit Ctrl + E).
- Choose a destination folder and include the song’s BPM in the file name.
- Set the bit depth to 24-bit for the highest quality.
- Under Quality, set the Resampling to 512-point sinc. This might take longer to export, but it gives us the best audio quality.
- Make sure to tick “HQ for all plugins” and “Disable maximum polyphony”.
- Hit “Start” and let FL Studio work its magic!
File Formats
When it comes to file formats, we’ve got two main contenders: WAV and MP3. Let’s break them down:
WAV files are uncompressed and larger, but they retain all the original audio data. This makes them perfect for:
- Professional music production
- Audio for video projects
- Sound design and effects
MP3 files, on the other hand, are compressed and smaller. They’re great for:
- Sharing music or podcasts
- Sending audio files via email
If we’re sending our track to a record label, a 24-bit WAV file is usually the way to go. But if we’re releasing it independently or sharing it online, an MP3 might be more practical.
For MP3 export, we can use similar settings to WAV:
- Select MP3 format
- Set the MP3 bitrate to 320kbps for the highest quality
- Keep the Resampling at 512-point sinc
- Tick “HQ for all plugins” and “Disable maximum polyphony”
Here’s a pro tip: We can actually export both WAV and MP3 versions simultaneously in FL Studio 21. Just select both formats in the export window and apply the settings we’ve discussed. This saves us time and ensures we have both high-quality and shareable versions of our track.
Remember, the export process in FL Studio is non-real time, which means the final render might sound even better than what we hear in the DAW. The time it takes depends on our export settings and the complexity of our project.
By following these steps, we’re ensuring that our first track leaves FL Studio in the best possible quality. Whether we’re aiming for professional production or just sharing our music with friends, these export settings will help our track shine. So go ahead, hit that export button, and get ready to share your creation with the world!
Check out our review of the new features in Fl Studio 24!
FAQs
1. Is it possible to create music using only FL Studio?
Yes, FL Studio is a comprehensive tool that enables you to load instruments and samples, input notes manually or play them live, record external sounds (like those from a microphone), and mix everything with added effects. You can save your finished projects in .flp or .zip formats, or export them as audio files.
2. Can I teach myself how to use FL Studio?
Absolutely, learning FL Studio independently is feasible. You don’t need to invest in formal courses or an audio engineering degree. Many successful artists and producers have mastered FL Studio through self-learning, utilizing online tutorials, engaging with online communities, and learning from peers. Review our fl studio tutorial for the best results.
3. How much time is required to learn FL Studio?
FL Studio tutorial is an ongoing process due to the vast array of plugins and features available. However, a basic understanding of the software can be achieved in approximately four-and-a-half hours with the right course, allowing you to begin your music production journey.
4. Is FL Studio suitable for beginners?
Yes, FL Studio, also known as Fruity Loops, is well-suited for beginners. It features a streamlined interface focused primarily on music sequencing and production, which helps prevent beginners from feeling overwhelmed by the numerous available options. Our fl studio tutorial will help you get up to speed!
Note: This article is intended as a beginner’s guide to FL Studio. For more in-depth tutorials and advanced techniques, consider exploring specialized resources and courses dedicated to FL Studio.
This post may contain affiliate links. If you make a purchase through these links, we may earn a small commission at no additional cost to you.

