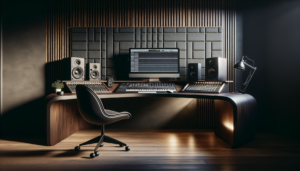
Are you tired of spending hours perfecting your mix, only to be disappointed by how it sounds outside of your home studio? Do you dream of creating professional-quality recordings without breaking the bank on expensive acoustic treatments? Look no further! In this guide, we will explore the world of DIY acoustic treatments for your home music studio. Whether you’re a seasoned producer or just starting out, these tips and tricks will help you create a space that sounds great and inspires creativity.
Understanding the Importance of Acoustic Treatment
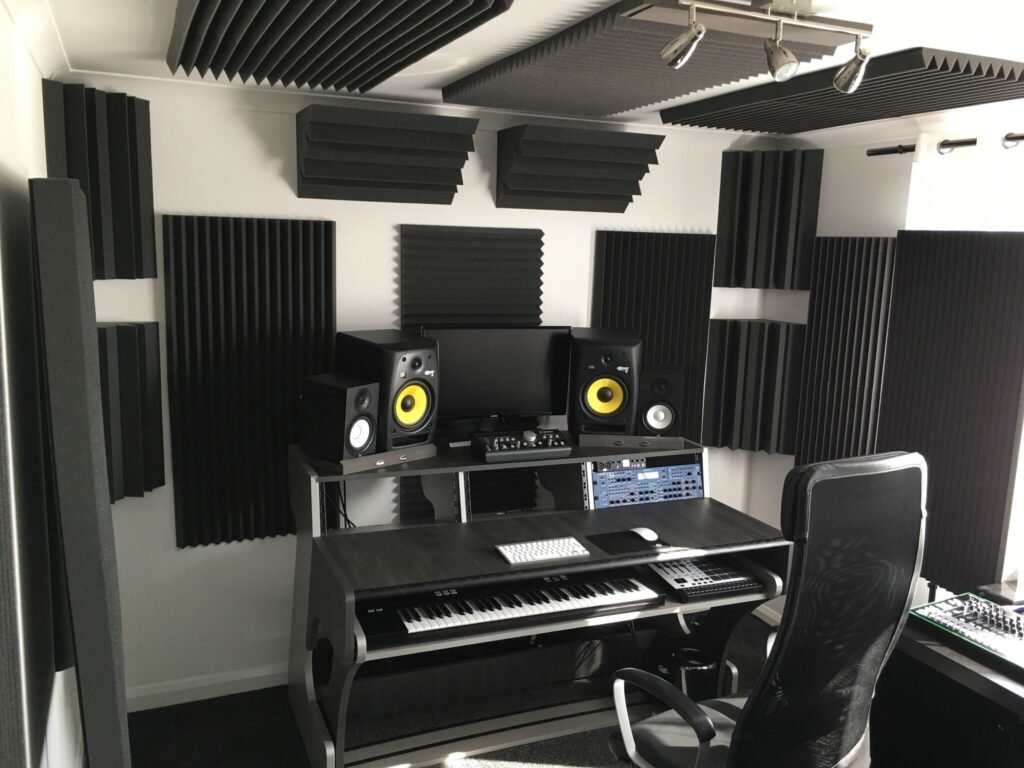
Before we dive into the world of DIY acoustic treatments, let’s take a moment to understand why they are so crucial for your home music studio. Acoustic treatment involves controlling the way sound behaves within a room. Without proper treatment, your recordings and mixes can suffer from issues like unwanted reflections, resonances, and uneven frequency response.
When you make music in an untreated room, the sound waves produced by your instruments and speakers bounce off the walls, floor, and ceiling, creating a complex web of reflections. These reflections can interfere with the direct sound, causing phase cancellations, frequency build-ups, and an overall lack of clarity in your recordings and mixes.
By implementing DIY acoustic treatments, you can minimize these reflections and create a more controlled listening environment. This will allow you to make accurate mixing decisions, ensure your recordings translate well to other systems, and ultimately improve the overall quality of your music.
Assessing Your Room’s Acoustic Needs

Before you start building DIY acoustic treatments, it’s essential to assess your room’s specific acoustic needs. Every room is unique, and understanding its strengths and weaknesses will help you determine the most effective treatment options. Here are a few key factors to consider:
Room Size and Shape
The size and shape of your room play a significant role in its acoustic characteristics. Larger rooms tend to have longer reverberation times and more natural diffusion, while smaller rooms can suffer from excessive bass buildup and flutter echoes. Understanding your room’s dimensions will help you choose the right treatments to address its specific challenges.
Reflective Surfaces
Take note of the reflective surfaces in your room, such as bare walls, windows, and hardwood floors. These surfaces can cause excessive reflections and create acoustic problems. Identifying the areas with the most reflective surfaces will guide you in determining where to place your DIY treatments for maximum effectiveness.
Listening Position
Consider where you will be sitting or standing in your room when recording or mixing. This is known as the listening position. The placement of your speakers, as well as your distance from the walls, can significantly affect the sound you hear. Understanding your listening position will help you optimize your DIY treatments to create an accurate and balanced listening environment.
Budget and Time Constraints
Lastly, consider your budget and time constraints. DIY acoustic treatments can range from simple and affordable solutions to more complex and time-consuming projects. Assessing your resources will help you prioritize which treatments to focus on and determine the most practical options for your home music studio.
DIY Acoustic Treatment Options on a Budget
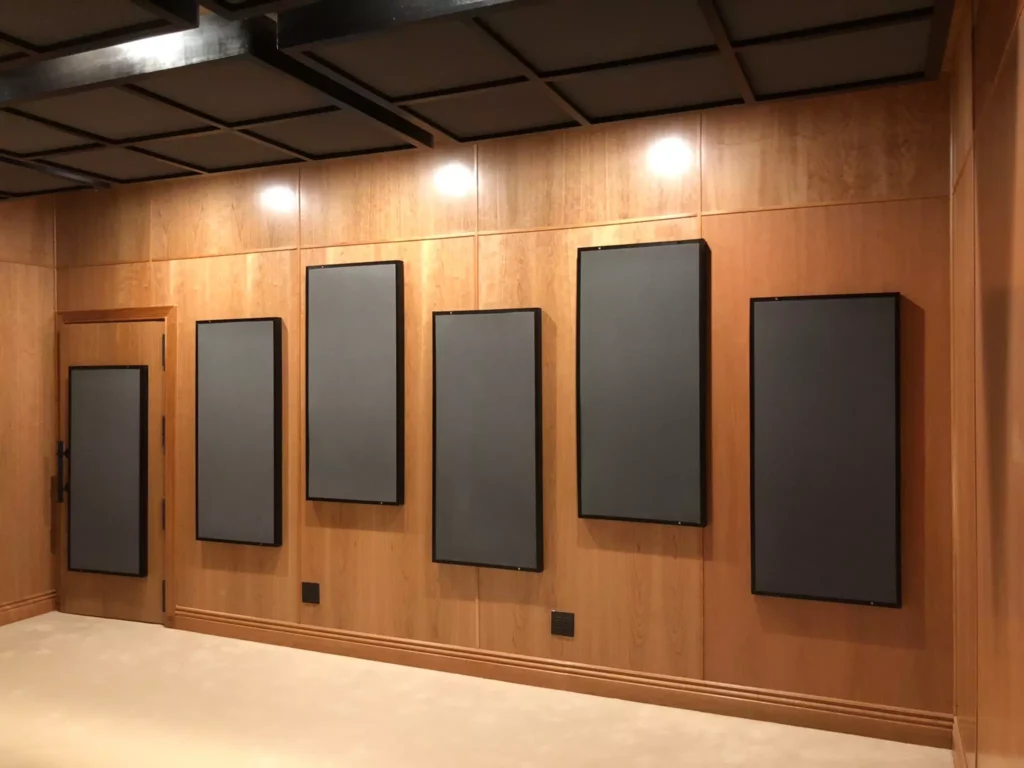
Now that you have assessed your room’s acoustic needs, let’s explore some DIY acoustic treatment options that are both effective and budget-friendly. Whether you have no budget at all or a limited amount to spend, there are several creative solutions you can implement to improve the acoustics of your home music studio.
Optimizing Speaker Placement
One of the most straightforward and cost-effective ways to improve the acoustics of your room is by optimizing the placement of your speakers. Start by moving your speakers away from the walls to minimize reflections. Position your desk in the center of the room and ensure that the sides of your desk are parallel to the longer walls. This arrangement will provide more space for the sound waves to bounce around, reducing the impact of standing waves.
To further optimize your speaker placement, create an equilateral triangle between your speakers and your head when sitting at your mix position. This positioning will help you hear more of the direct sound from your speakers and minimize the impact of reflections.
Strategic Use of Absorbent Materials
Another cost-effective DIY acoustic treatment option is to strategically place absorbent materials throughout your room. Look around your home for items like old blankets, fluffy towels, comforters, pillows, and curtains. These soft and absorbent materials can be hung on bare walls or placed strategically to reduce reflections and absorb excess sound.
Experiment with different placements to find the best combination of absorbent materials. You can try hanging blankets on walls, placing pillows in corners, or even creating DIY sound panels using fabrics and wooden frames. The goal is to introduce as much soft, absorbent material as possible to minimize reflections and create a more controlled listening environment.
Building DIY Bass Traps
Bass frequencies can be particularly challenging to control in small home studios. Excessive bass buildup can cause muddiness and uneven frequency response in your recordings and mixes. Building DIY bass traps can help address these issues without breaking the bank.
To build your own bass traps, you will need materials like insulation foam panels, wooden frames, and fabric coverings. Cut the insulation foam panels to the desired size and attach them to the wooden frames. Then, cover the frames with fabric to create a finished look.
Strategically place the DIY bass traps in the corners of your room, as this is where bass frequencies tend to accumulate. The bass traps will absorb these low frequencies, reducing their impact on your recordings and creating a more balanced sound.
DIY Acoustic Panels
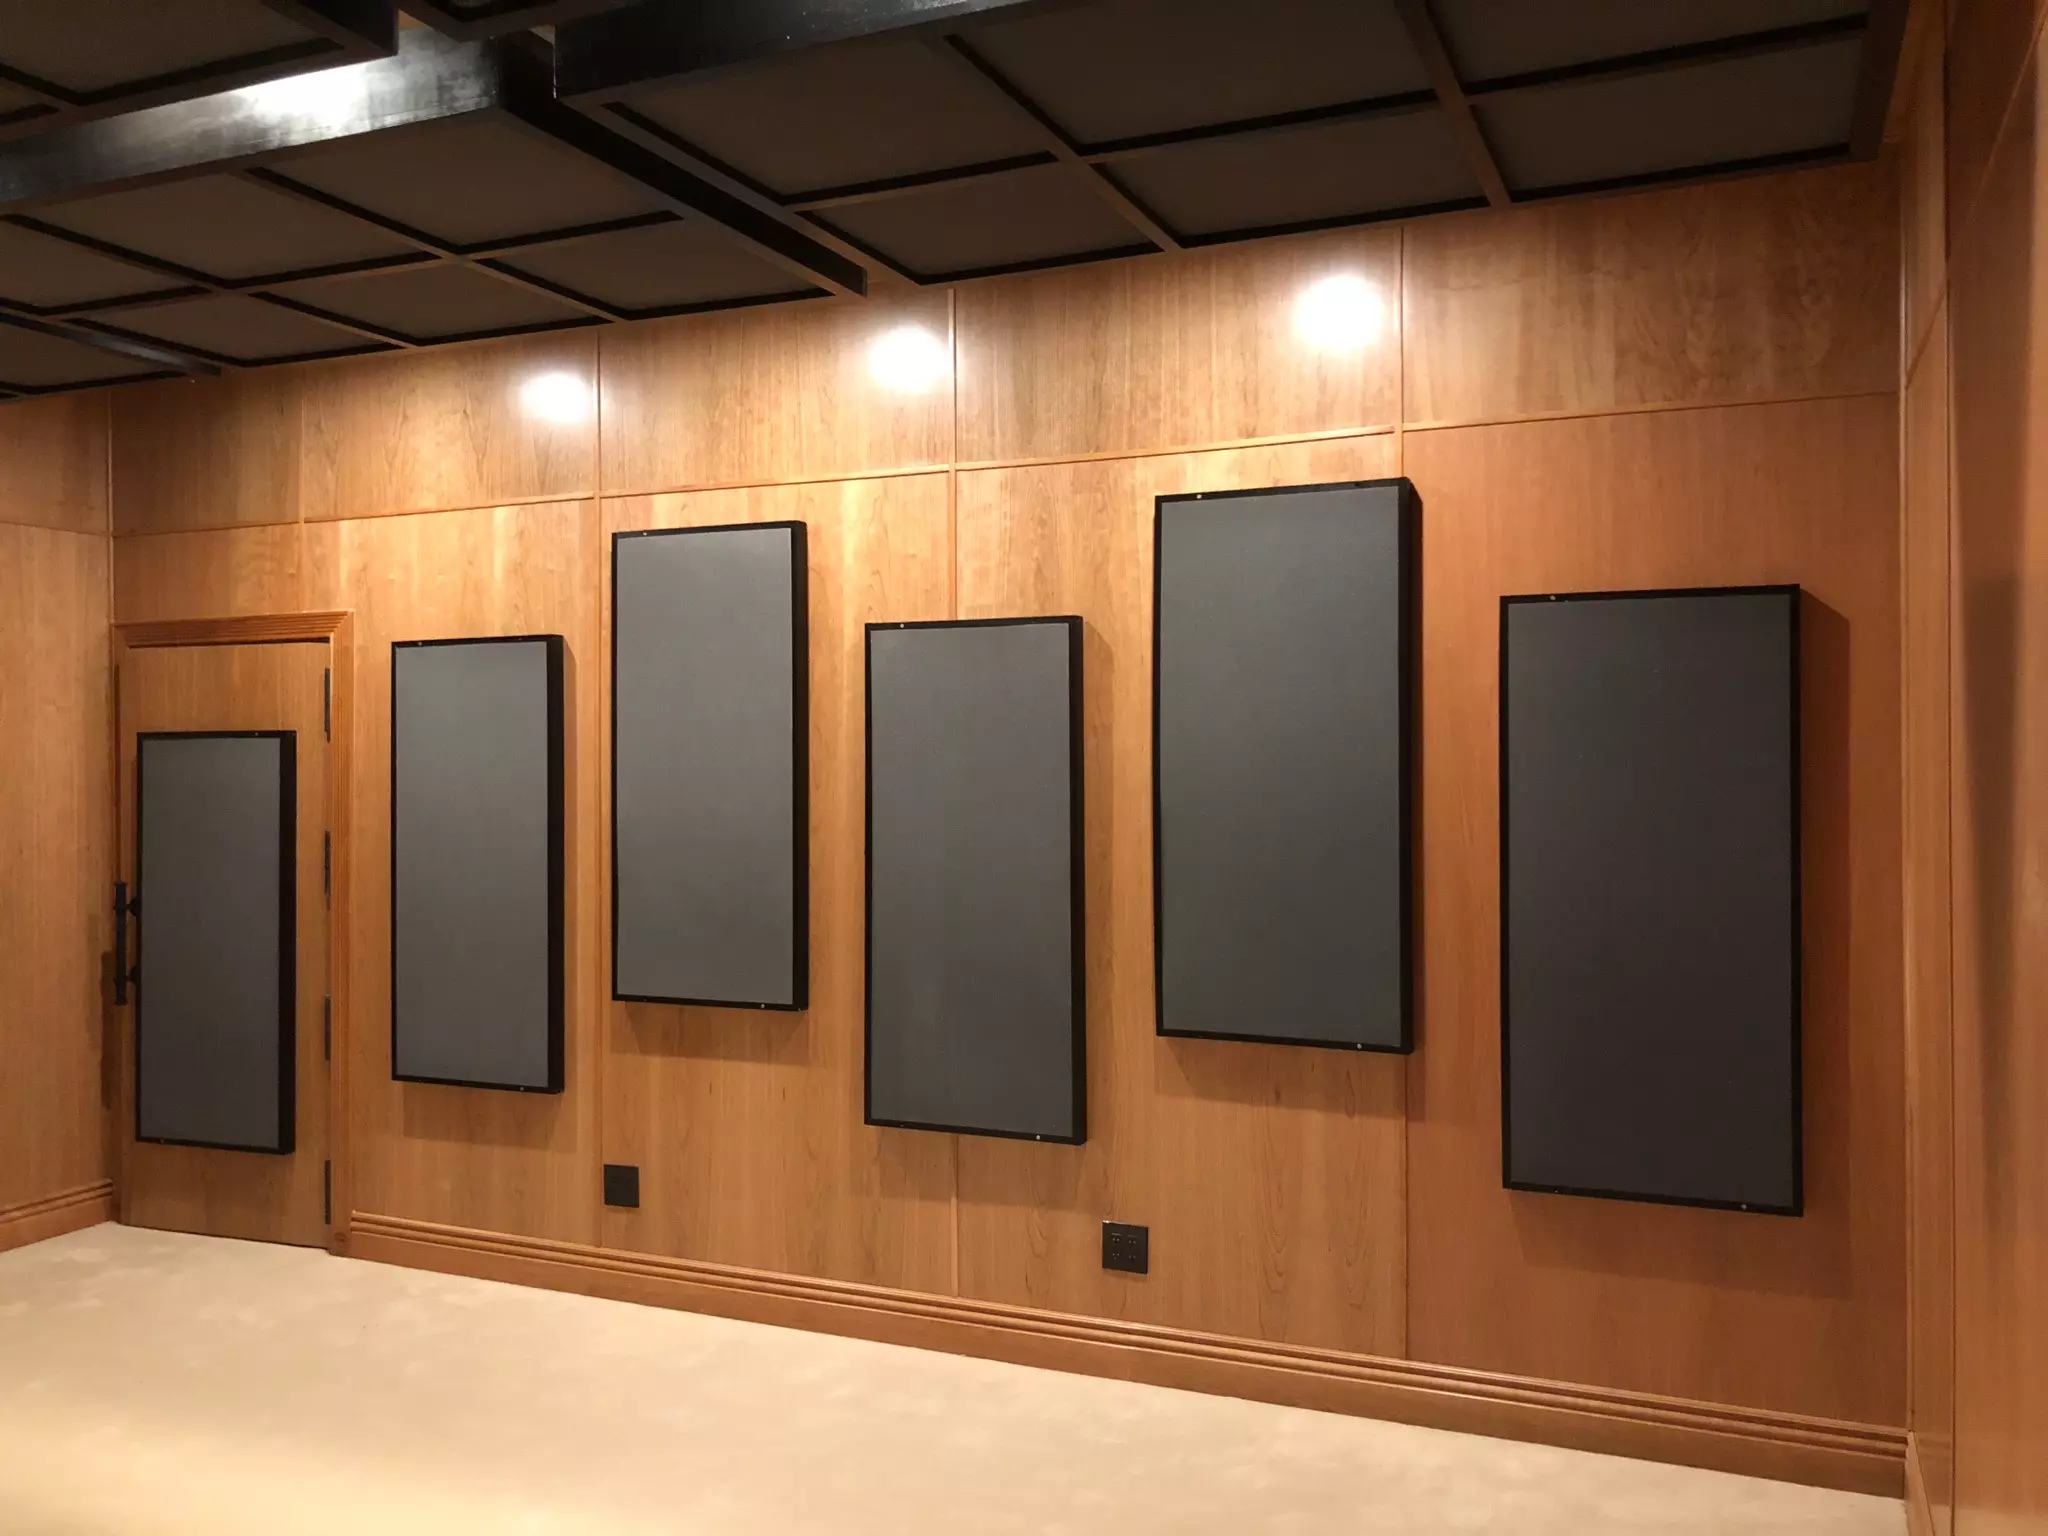
Acoustic panels are another effective DIY treatment option for improving the mid and high-frequency response in your room. These panels are designed to absorb reflections and reduce flutter echoes, resulting in a more accurate and controlled listening environment.
To create DIY acoustic panels, you will need insulation foam panels, wooden frames, and fabric coverings. Cut the insulation foam panels to the desired size and attach them to the wooden frames. Then, cover the frames with fabric to create a clean and professional look.
Place the DIY acoustic panels on the walls of your room in a checkered pattern. This placement will help break up the parallel surfaces and minimize the impact of standing waves. Experiment with different panel sizes and placements to find the configuration that works best for your room.
Using Diffusion for Pleasant Room Ambience
Diffusion is an advanced acoustic treatment technique that scatters sound reflections, creating a more spacious and natural ambience in your room. While diffusion panels can be more challenging to build on a DIY budget, there are still some creative options available.
One DIY diffusion option is to use bookshelves filled with books or records. The irregular surfaces of the books or records will scatter sound reflections, introducing diffusion into your room. Another option is to create DIY diffusers using wooden slats arranged in a specific pattern. These diffusers can be mounted on the walls or ceiling to enhance the overall room ambience.
Experiment with different diffusion techniques and placements to find the right balance between absorption and diffusion in your room. Remember, diffusion is not always necessary in smaller home studios, so focus on absorption first and add diffusion as needed.
Taking Your DIY Acoustic Treatments to the Next Level
If you have a bit more budget to spare and want to take your DIY acoustic treatments to the next level, there are some additional options you can explore. These options may require a slightly higher investment but can provide even better results in terms of room acoustics.
Upgrading to Professional Acoustic Panels and Bass Traps
While DIY acoustic panels and bass traps can be effective, professional-grade options offer even better performance and aesthetics. Investing in high-quality acoustic panels and bass traps can provide more precise absorption and a cleaner overall look for your home music studio.
Look for reputable brands that specialize in acoustic treatments, such as Auralex or Primacoustic. These companies offer a wide range of options, including pre-made panels and bass traps in various sizes and designs. Choose panels and bass traps that match the specific needs of your room and budget.
Installing Diffusion Panels
As mentioned earlier, diffusion panels can enhance the overall room ambience and create a more spacious sound. While DIY diffusion options can be effective, professional diffusion panels offer more precise scattering of sound reflections and a more consistent diffusion pattern.
Consider investing in pre-made diffusion panels from reputable brands like Auralex or GIK Acoustics. These panels are designed to scatter reflections in a controlled manner, creating a natural and pleasing ambience in your room. Place the diffusion panels strategically on the walls or ceiling to optimize their effectiveness.
Enhancing Low-Frequency Control with Membrane Bass Traps
Membrane bass traps are advanced acoustic treatment options designed specifically for controlling low frequencies in your room. These traps use a combination of absorption and membrane technology to provide precise and effective bass control.
While membrane bass traps can be more expensive than traditional bass traps, they offer superior performance in terms of low-frequency absorption. Consider investing in membrane bass traps if you have a particular focus on achieving a balanced and controlled low-end in your recordings and mixes.
Custom Room Analysis and Design Services
For those who want to take a more scientific approach to their room acoustics, custom room analysis and design services can provide valuable insights and solutions. These services involve professional acoustic engineers analyzing your room’s acoustic characteristics and designing a tailored treatment plan.
Companies like GIK Acoustics offer custom room analysis services where you can submit room measurements and details for expert analysis. Based on the analysis, they will provide a detailed treatment plan, including recommendations for specific acoustic treatments and their optimal placements. While this option may require a higher investment, it can ensure the most accurate and effective treatment for your room.
Testing and Fine-Tuning Your DIY Acoustic Treatments
Once you have implemented your DIY acoustic treatments, it’s essential to test and fine-tune their effectiveness. Testing allows you to identify any areas that may require additional treatment or adjustments to achieve the desired acoustic balance in your room.
Analyzing Frequency Response
Use a measurement microphone and a software-based frequency analyzer to measure the frequency response of your room. This will help you identify any frequency build-ups or cancellations that may require further treatment. Make adjustments to the placement of your DIY treatments based on the analysis to achieve a more balanced frequency response.
Listening Tests
Perform critical listening tests in your room to assess the overall sound quality and clarity. Pay attention to the stereo imaging, depth, and detail in your recordings and mixes. If you notice any issues like excessive reflections or uneven frequency response, consider making adjustments to your DIY treatments or exploring additional treatment options.
Seek Feedback from Others
Invite fellow musicians, producers, or audio engineers to listen to your room and provide feedback. Their fresh ears and different perspectives can help identify any acoustic issues that you may have overlooked. Consider their feedback and make adjustments to your DIY treatments accordingly.
Remember, achieving the perfect acoustic balance in your room may require some trial and error. Be patient and open to making adjustments as needed. The goal is to create a space that inspires creativity and allows you to make accurate and informed decisions in your music production process.
Conclusion
Creating a home music studio with optimal acoustics doesn’t have to be an expensive or daunting task. With the right DIY acoustic treatments, you can transform any room into a controlled and inspiring environment for your music production. Whether you’re on a tight budget or have more resources to spare, there are plenty of options to improve the acoustics of your home music studio.
From optimizing speaker placement and strategically using absorbent materials to building DIY bass traps and acoustic panels, the possibilities for DIY acoustic treatments are endless. If you have the budget, consider investing in professional-grade treatments such as acoustic panels, bass traps, and diffusion panels. And for those who want a more scientific approach, custom room analysis and design services can provide tailored solutions.
Remember to test and fine-tune your DIY acoustic treatments to achieve the best results. Analyze the frequency response, perform listening tests, and seek feedback from others to ensure your room sounds great and inspires creativity. With a little effort and creativity, you can create a home music studio that brings your music to life. Happy DIY acoustic treating!
“The music is not in the notes, but in the silence between.” – Wolfgang Amadeus Mozart
This post may contain affiliate links. If you make a purchase through these links, we may earn a small commission at no additional cost to you.

